I wanted to see at which step I’ll be asked for the encryption password during a restoration so I decided to go through a full cycle of backup configuration and recovery.
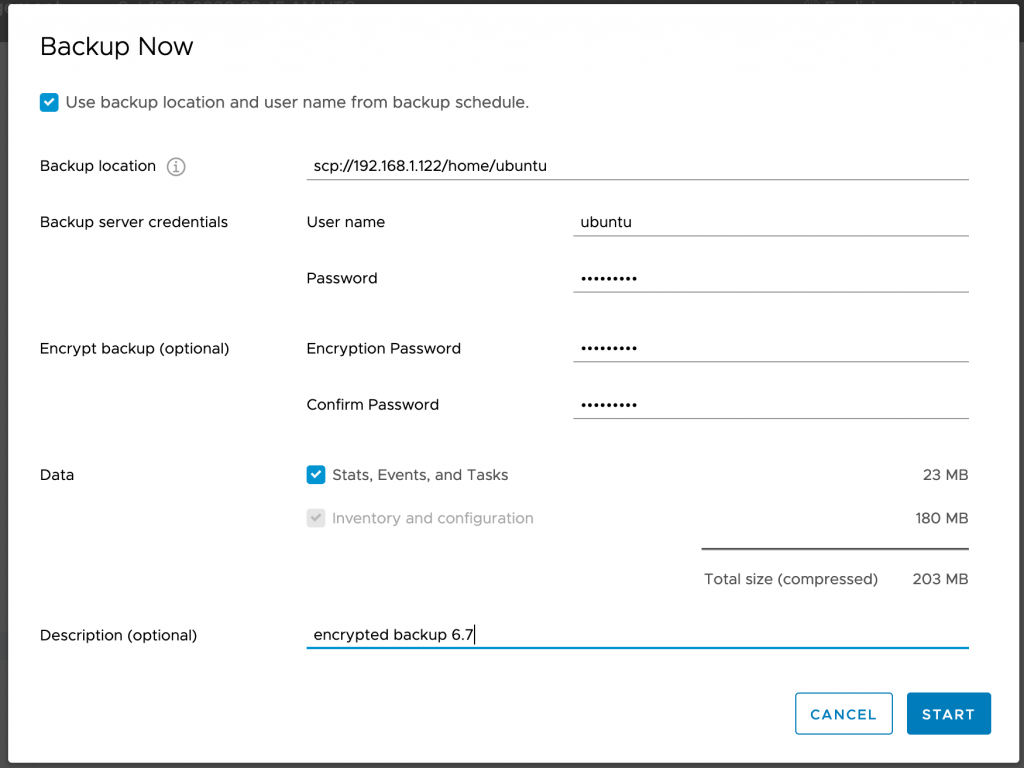
Connect to VCSA:5480 and specify the connection information for the server where you wish to keep backups and the encryption password for backups.
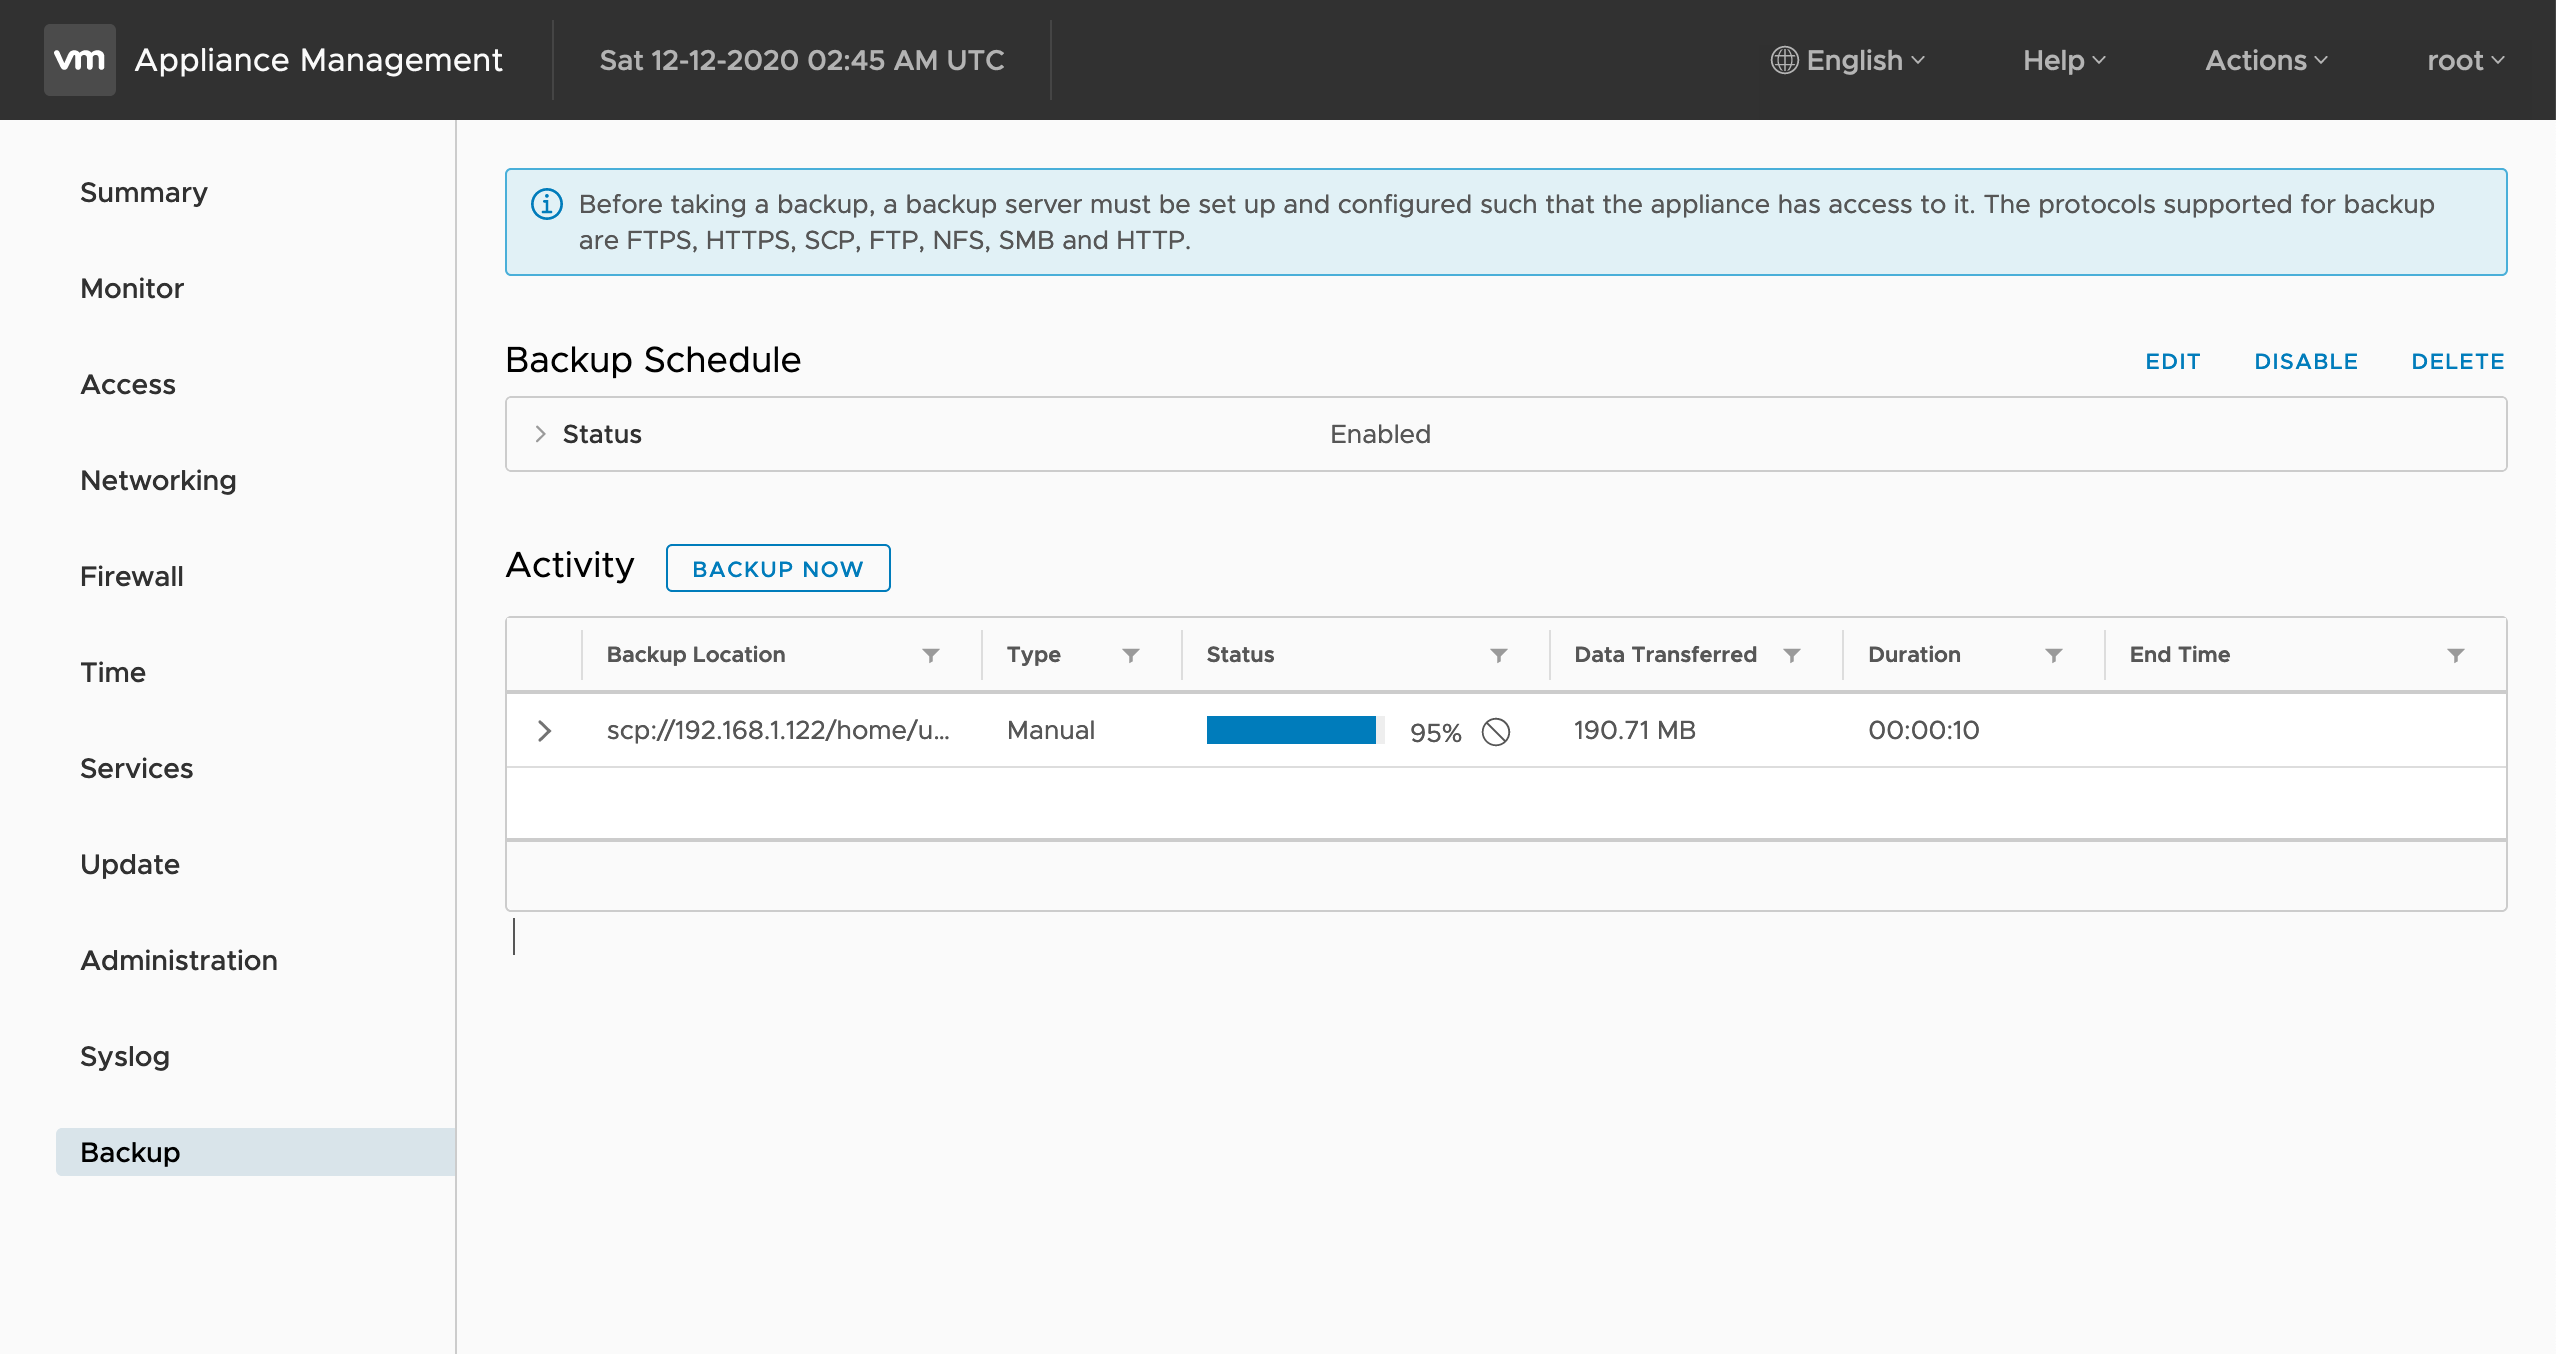
I want to mention that as of today (end of 2020) VCSA 6.7 can use a multiple protocols to deposit backups but..
- The only supported version of SMB protocol is v.1. VMware support confirmed that implementations of other versions of the protocol have issues, so right now I can only use the first version of Samba. That is NOT an option for any production environment.
- VCSA exports backups to an NFS share just fine. But you have to set up root+RW permissions on the share for VCSA IP or it won’t work. I don’t believe that I saw this requirement anywhere in documentation. But my tests show that it doesn’t work with RW permissions only.
- Restoring vCenter SMB or NFS backups is currently not supported by the vCenter Server Appliance GUI installer. KB provides a workaround that should be employed at the second stage of restoration. However, you’re asked to provide the correct location for the backup at the beginning of the first stage. If your only backup located on the NFS share, that the installer is unable to access, I do not see how you can get to the second stage at all.
- I didn’t have a single issue with SCP so far so I’m using it for the test.
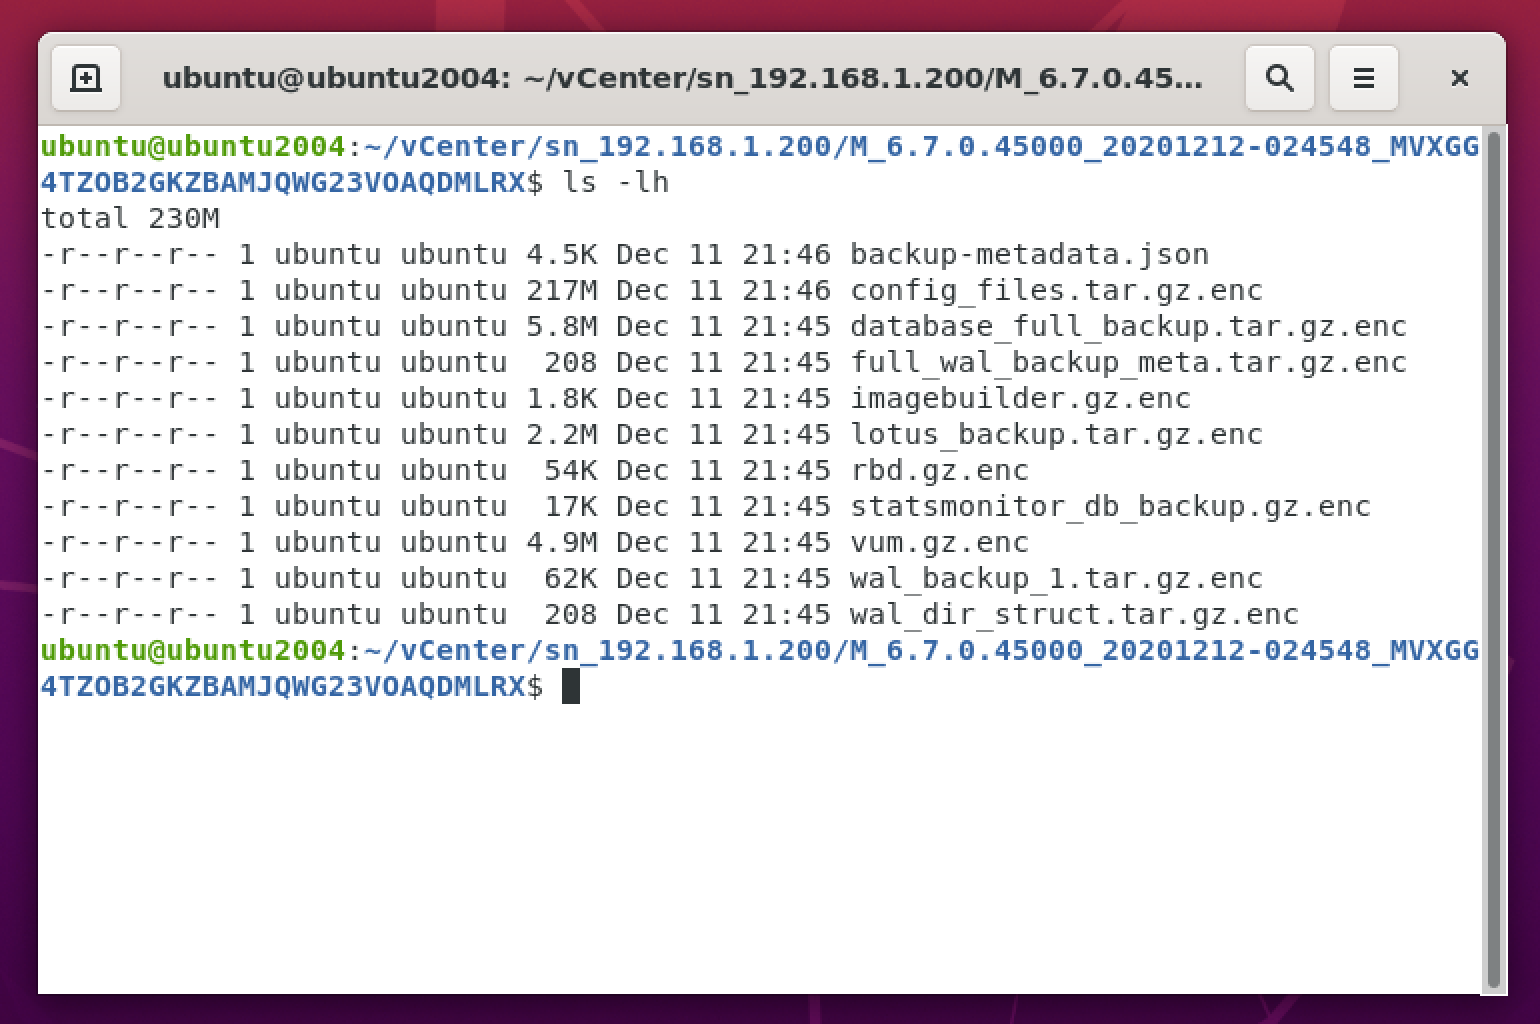
Notice that backup files are encrypted and thus have .enc extension:
We are done with the backup process. It’s time for the restoration. Power off the original VCSA not to cause an IP conflict.
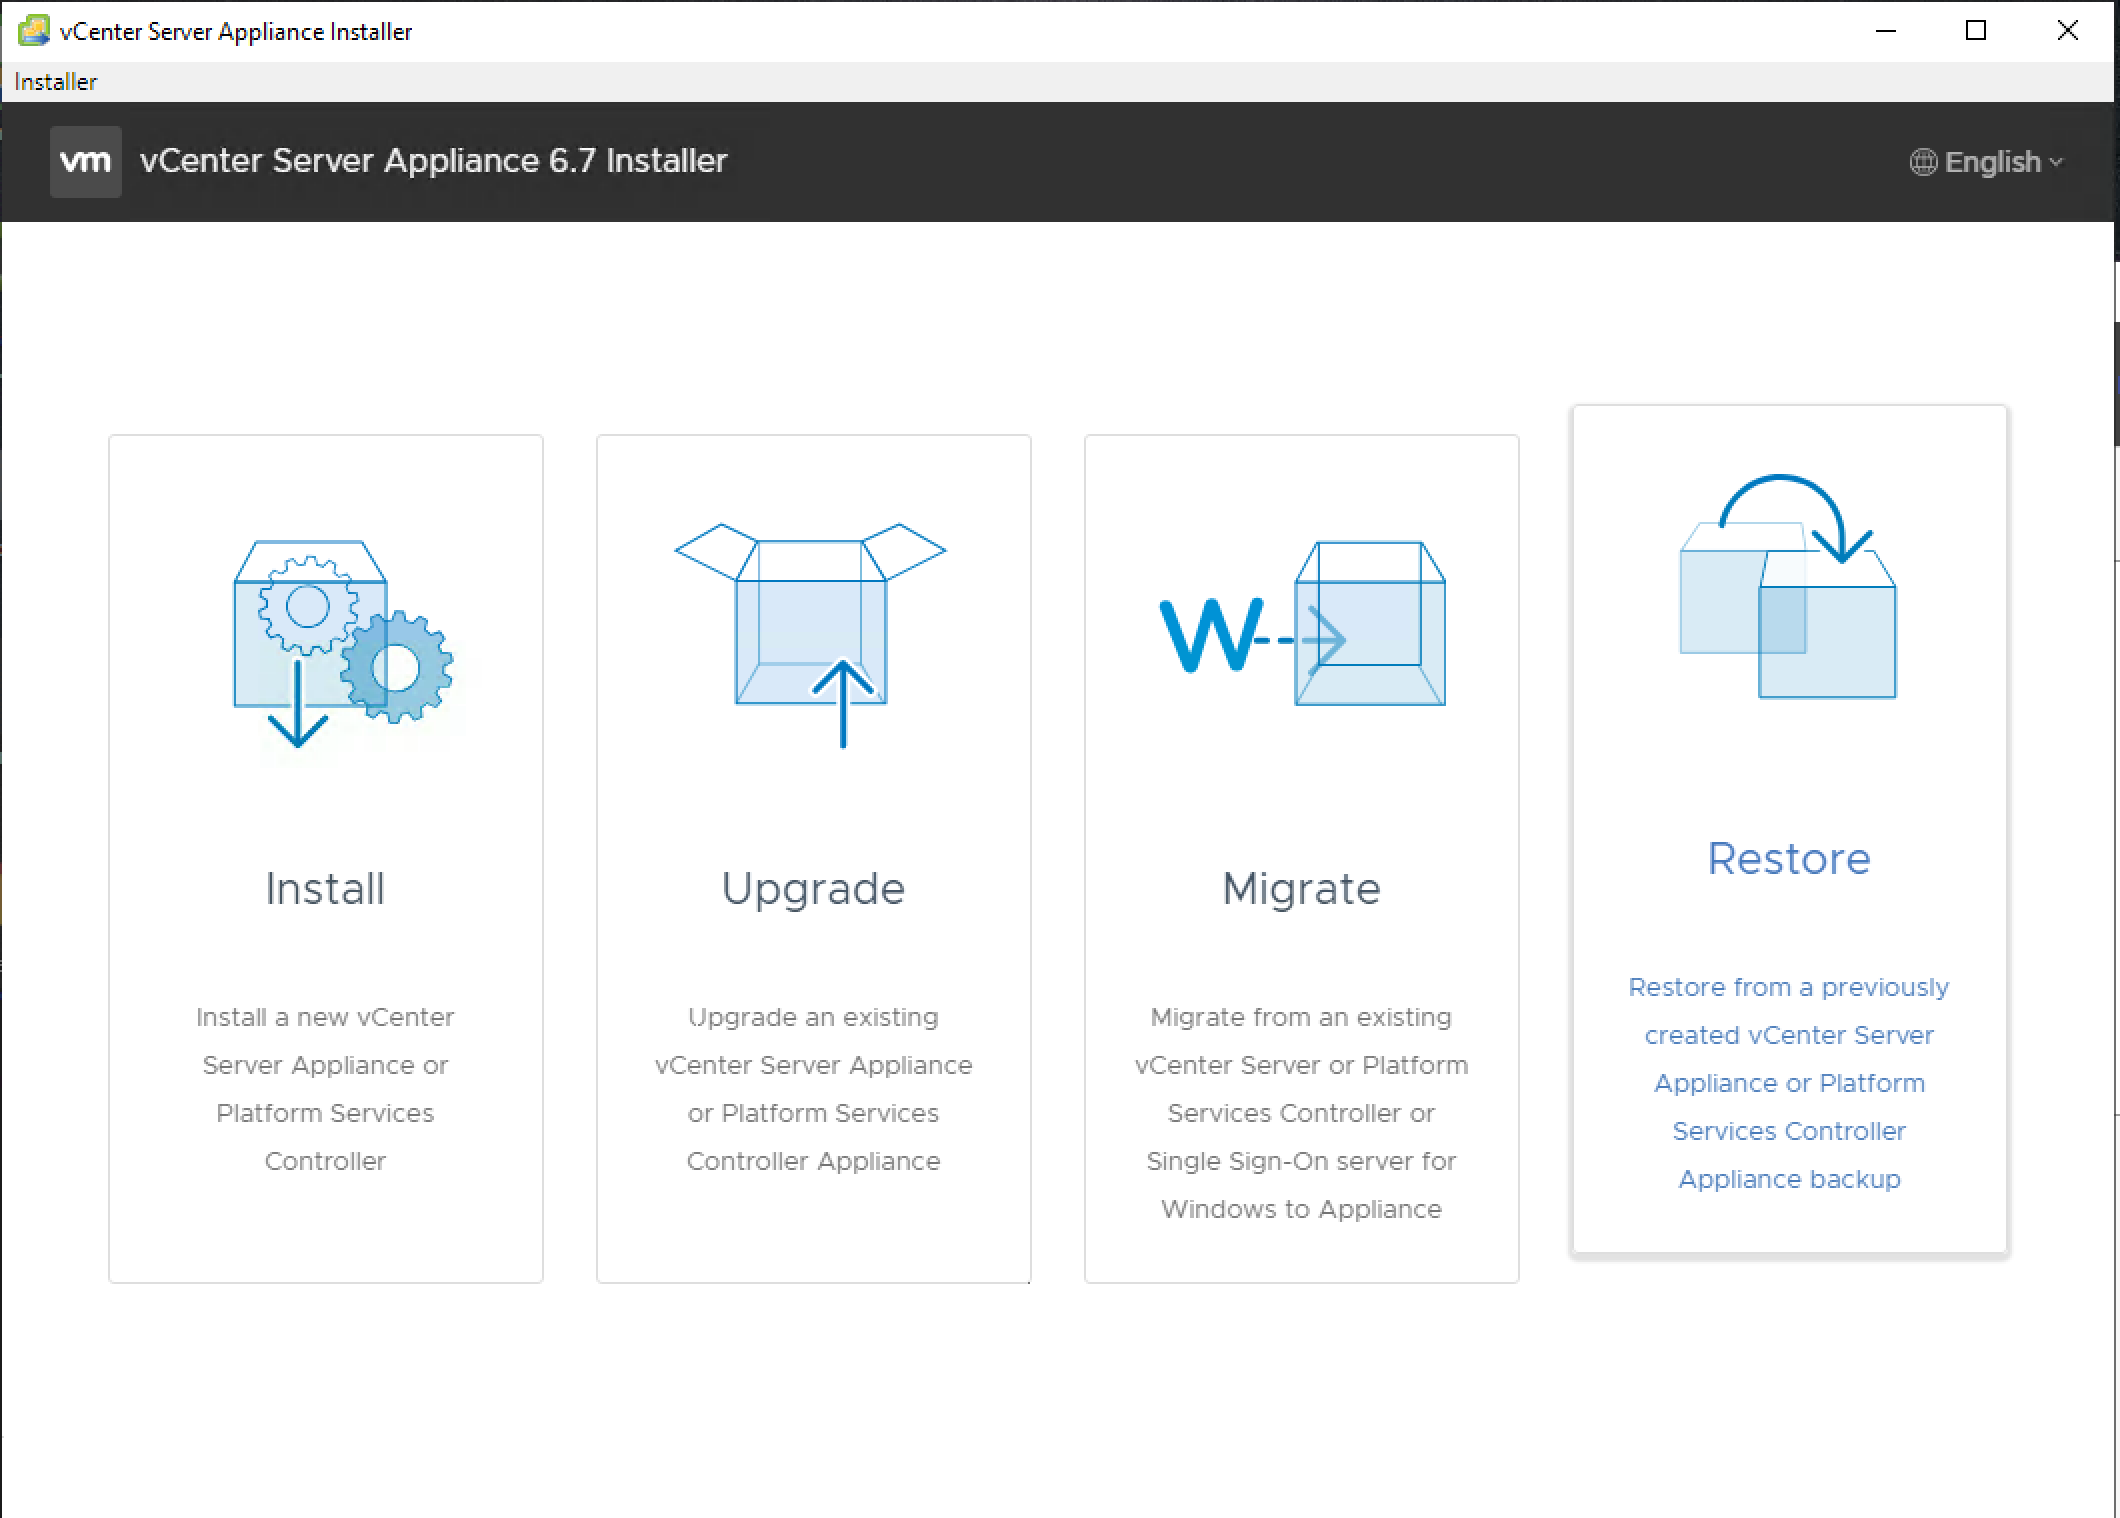
Mount the ISO, launch GUI installer and select “Restore”. Installer version and the version of VCSA you try to restore have to be the same. In my case I’m mounting VMware-VCSA-all-6.7.0-16708996.iso:
Specify the full path to the directory containing the json file. In my example the path is:
scp://192.168.1.122/home/ubuntu/vCenter/sn_192.168.1.200/M_6.7.0.45000_20201212-024548_MVXGG4TZOB2GKZBAMJQWG23VOAQDMLRX 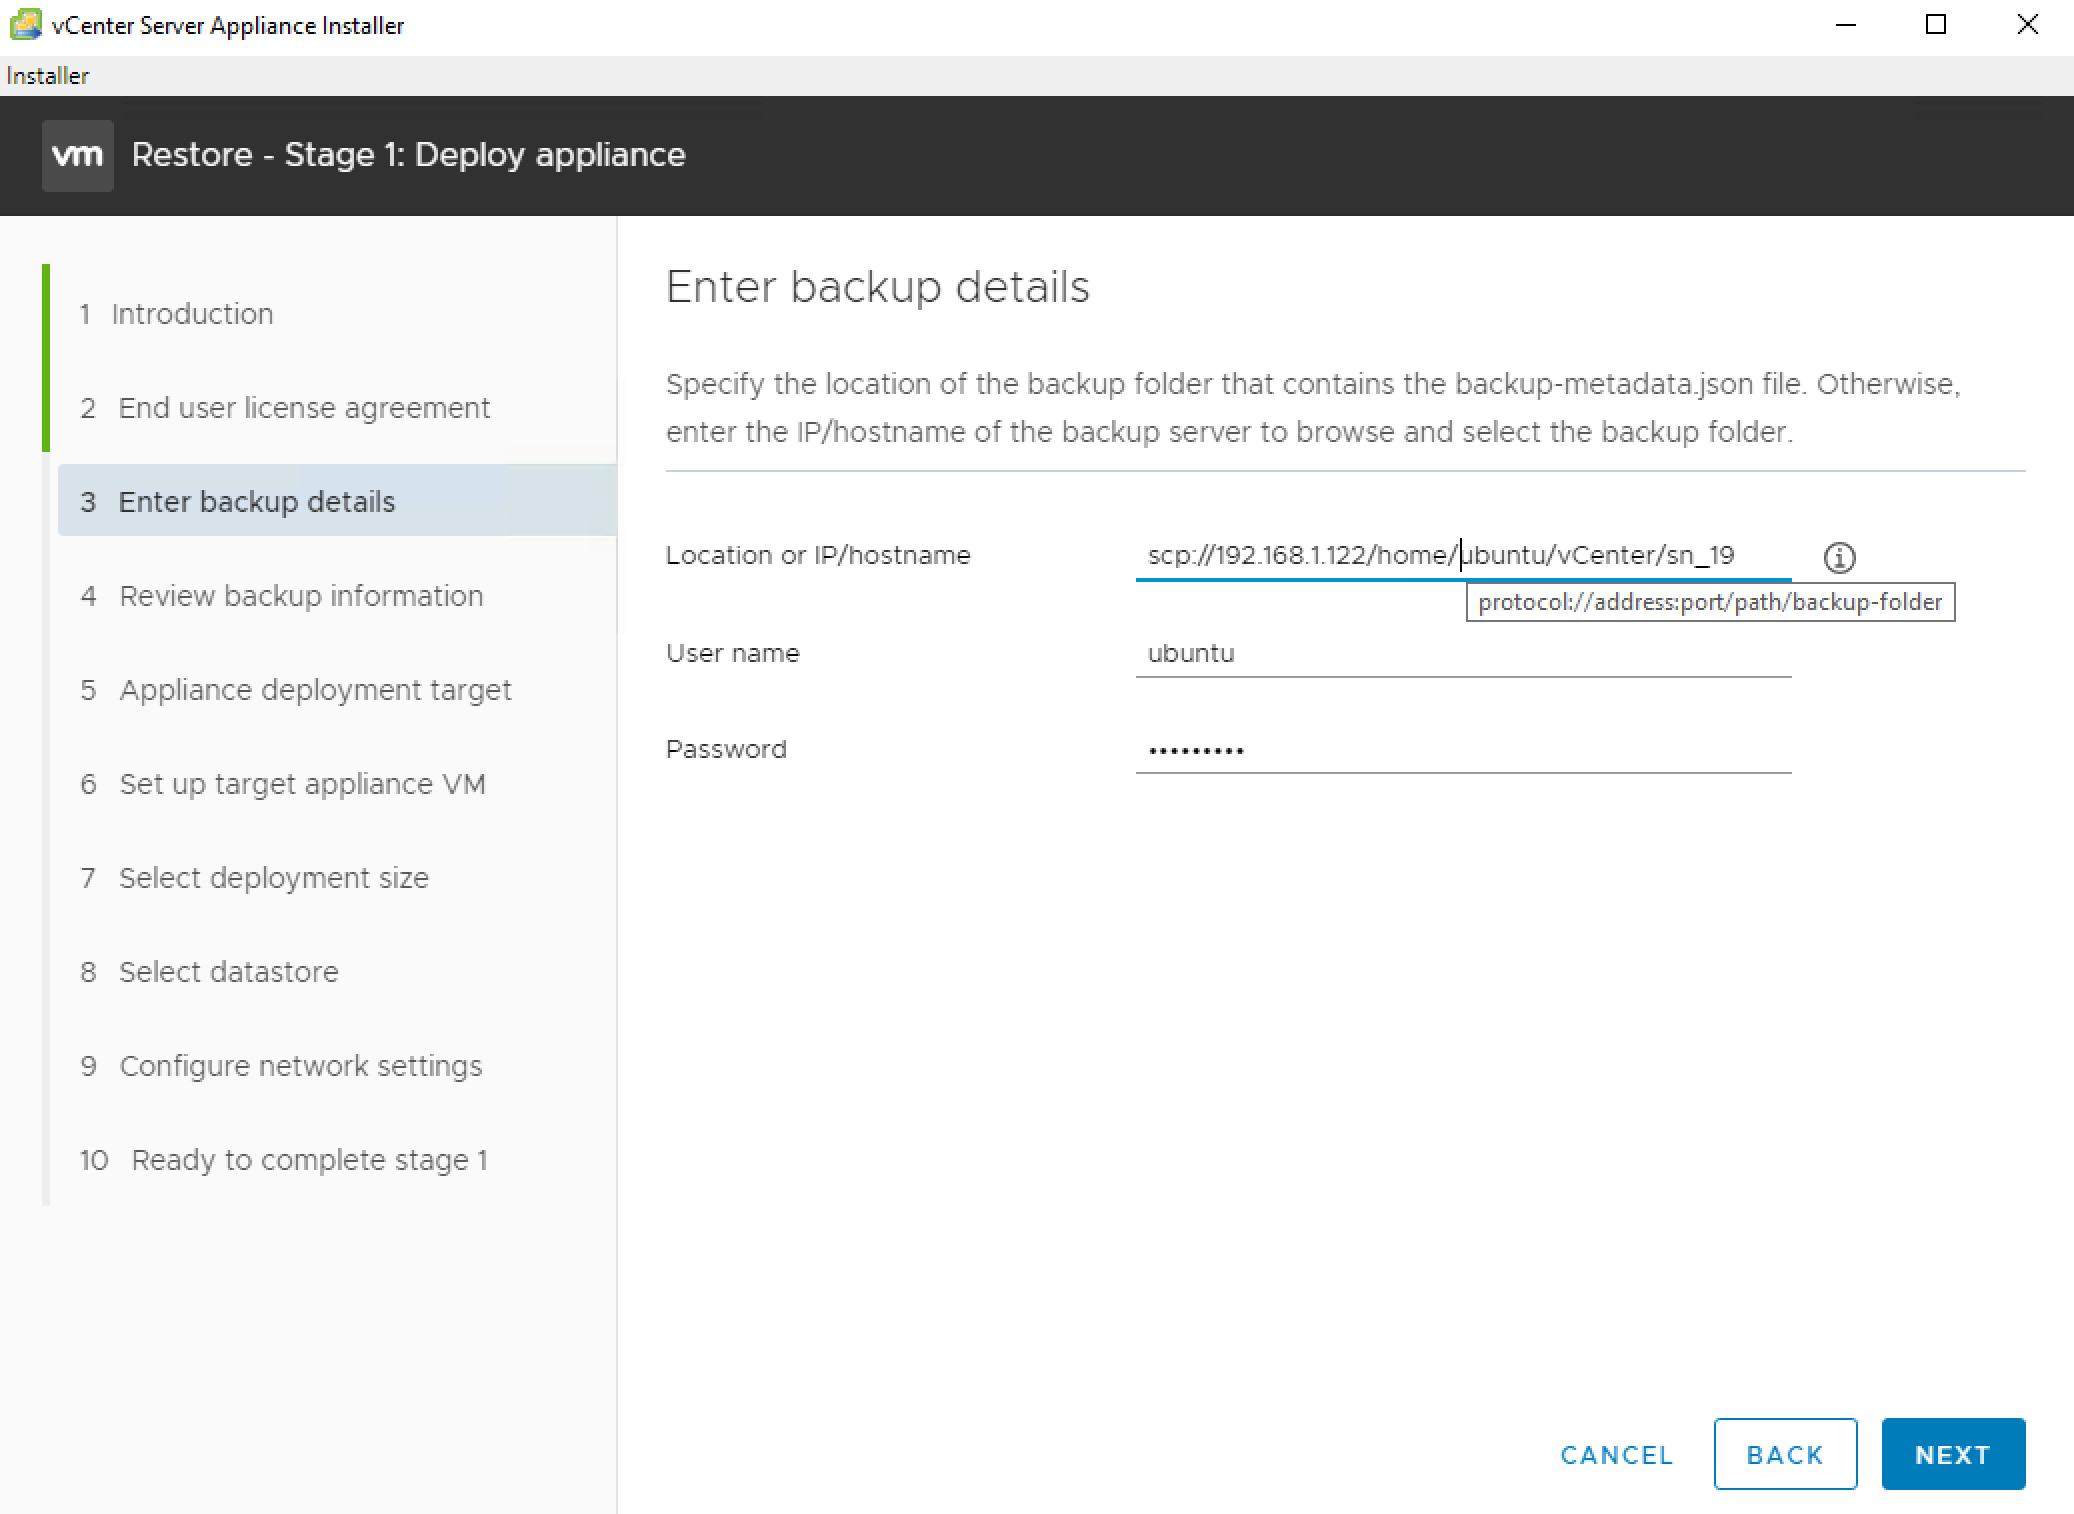
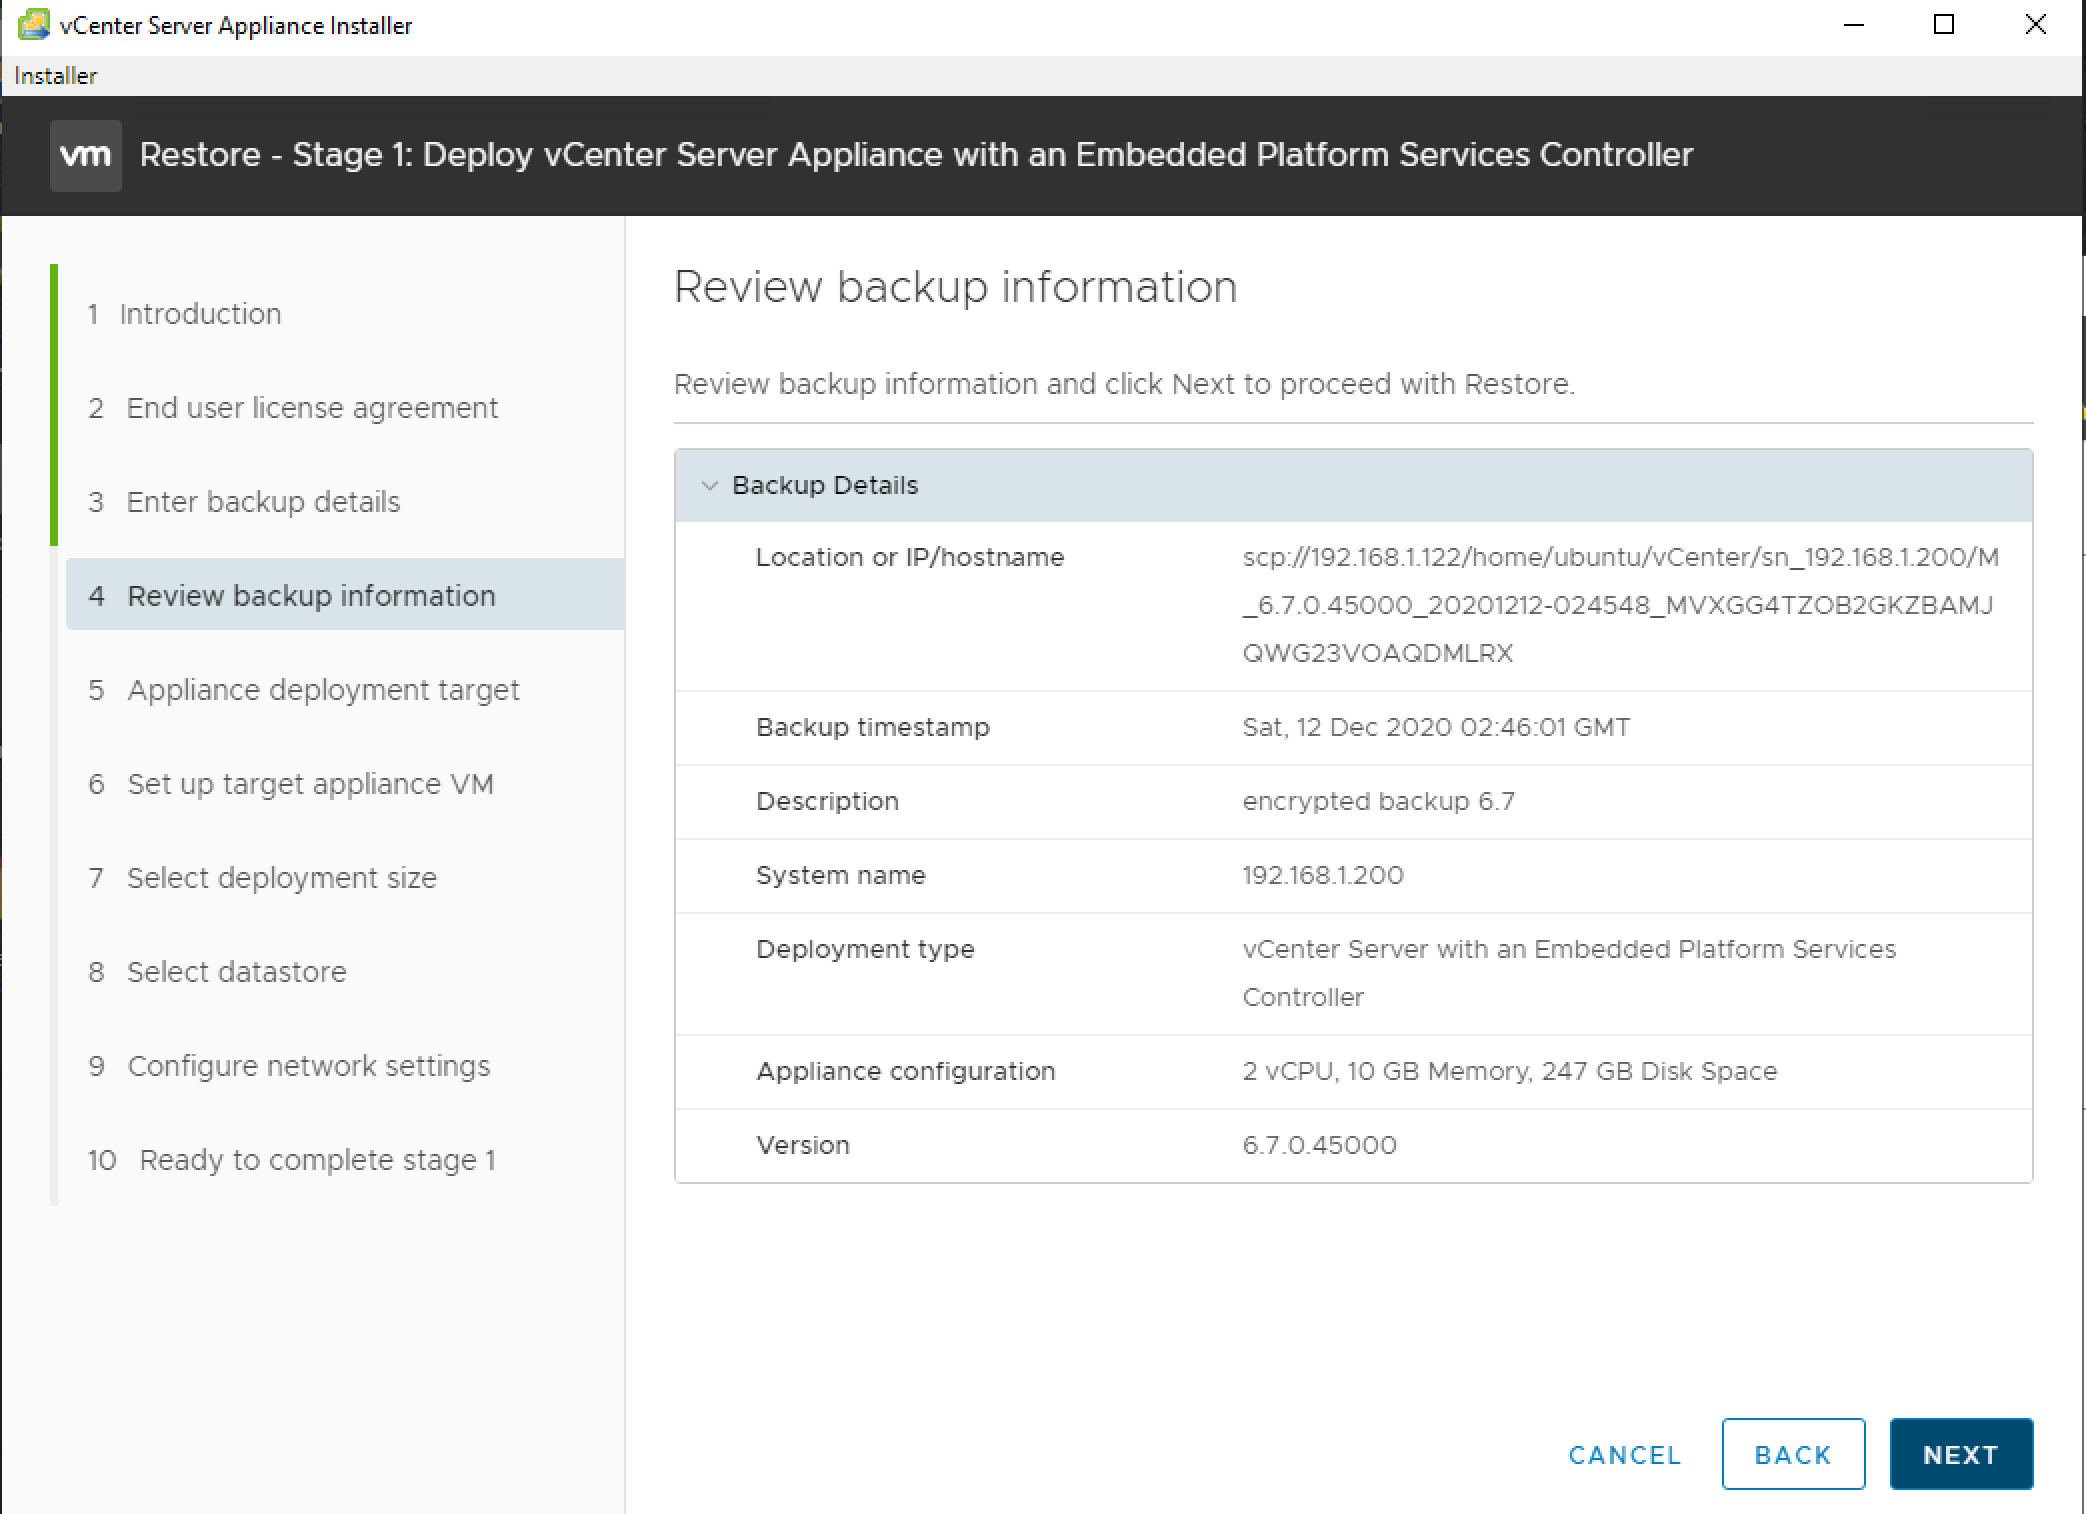
Review the restoration point information:
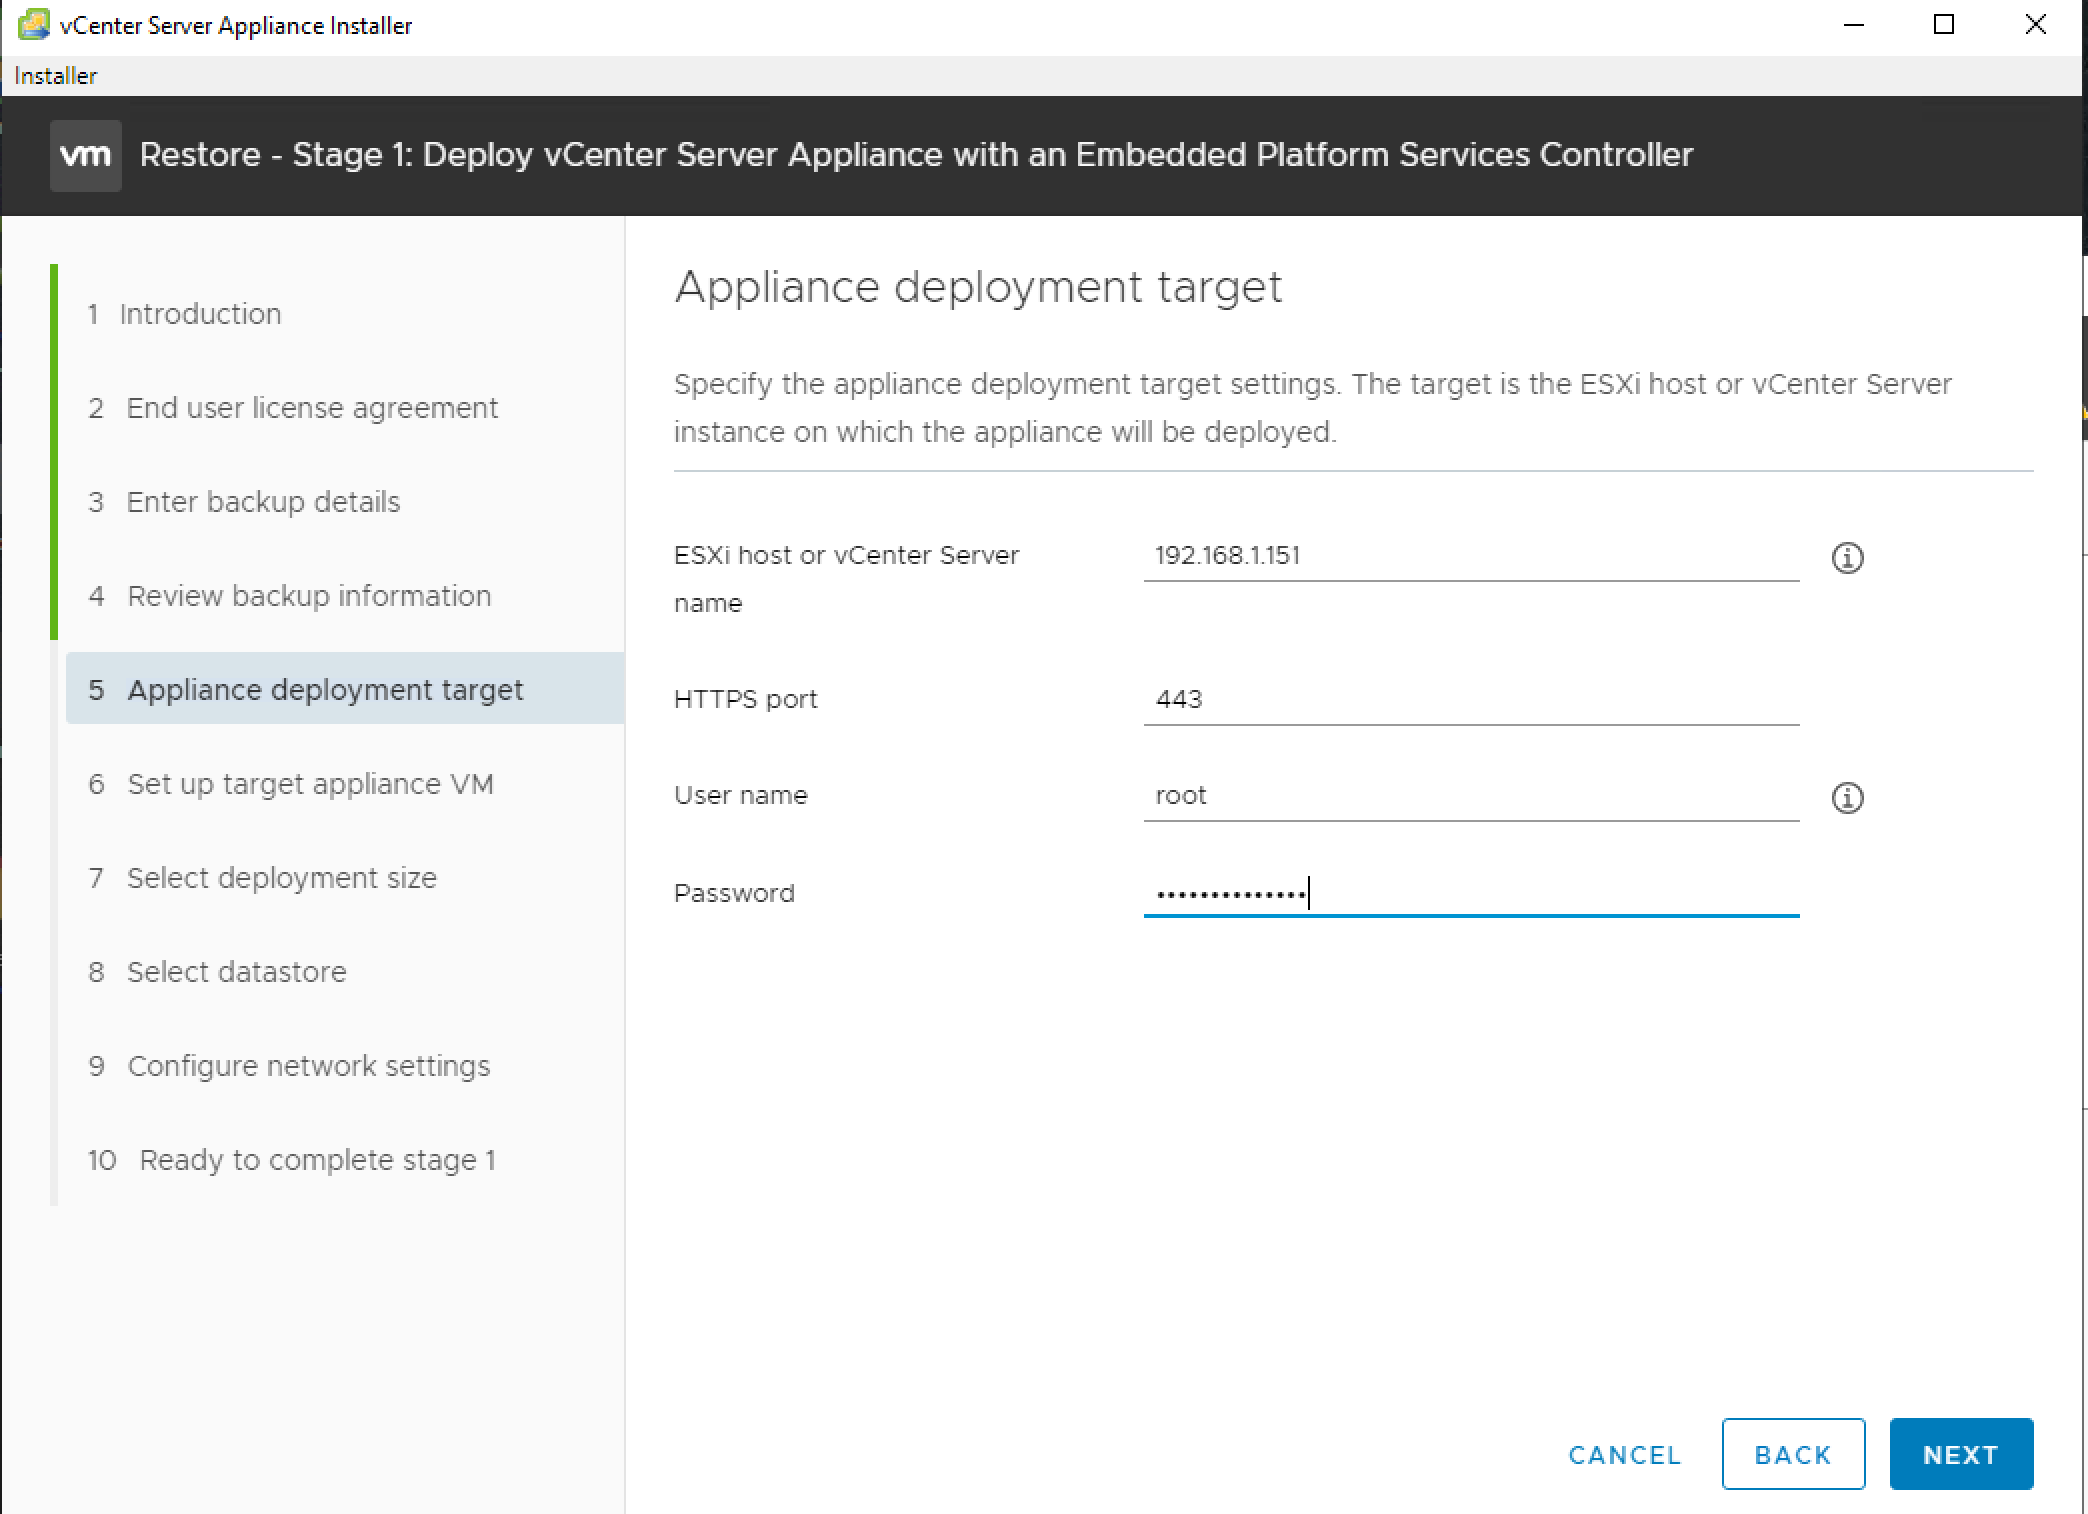
Specify on which ESXi or vCenter you wish to deploy the replacement to:
Specify the name for the restored VCSA:

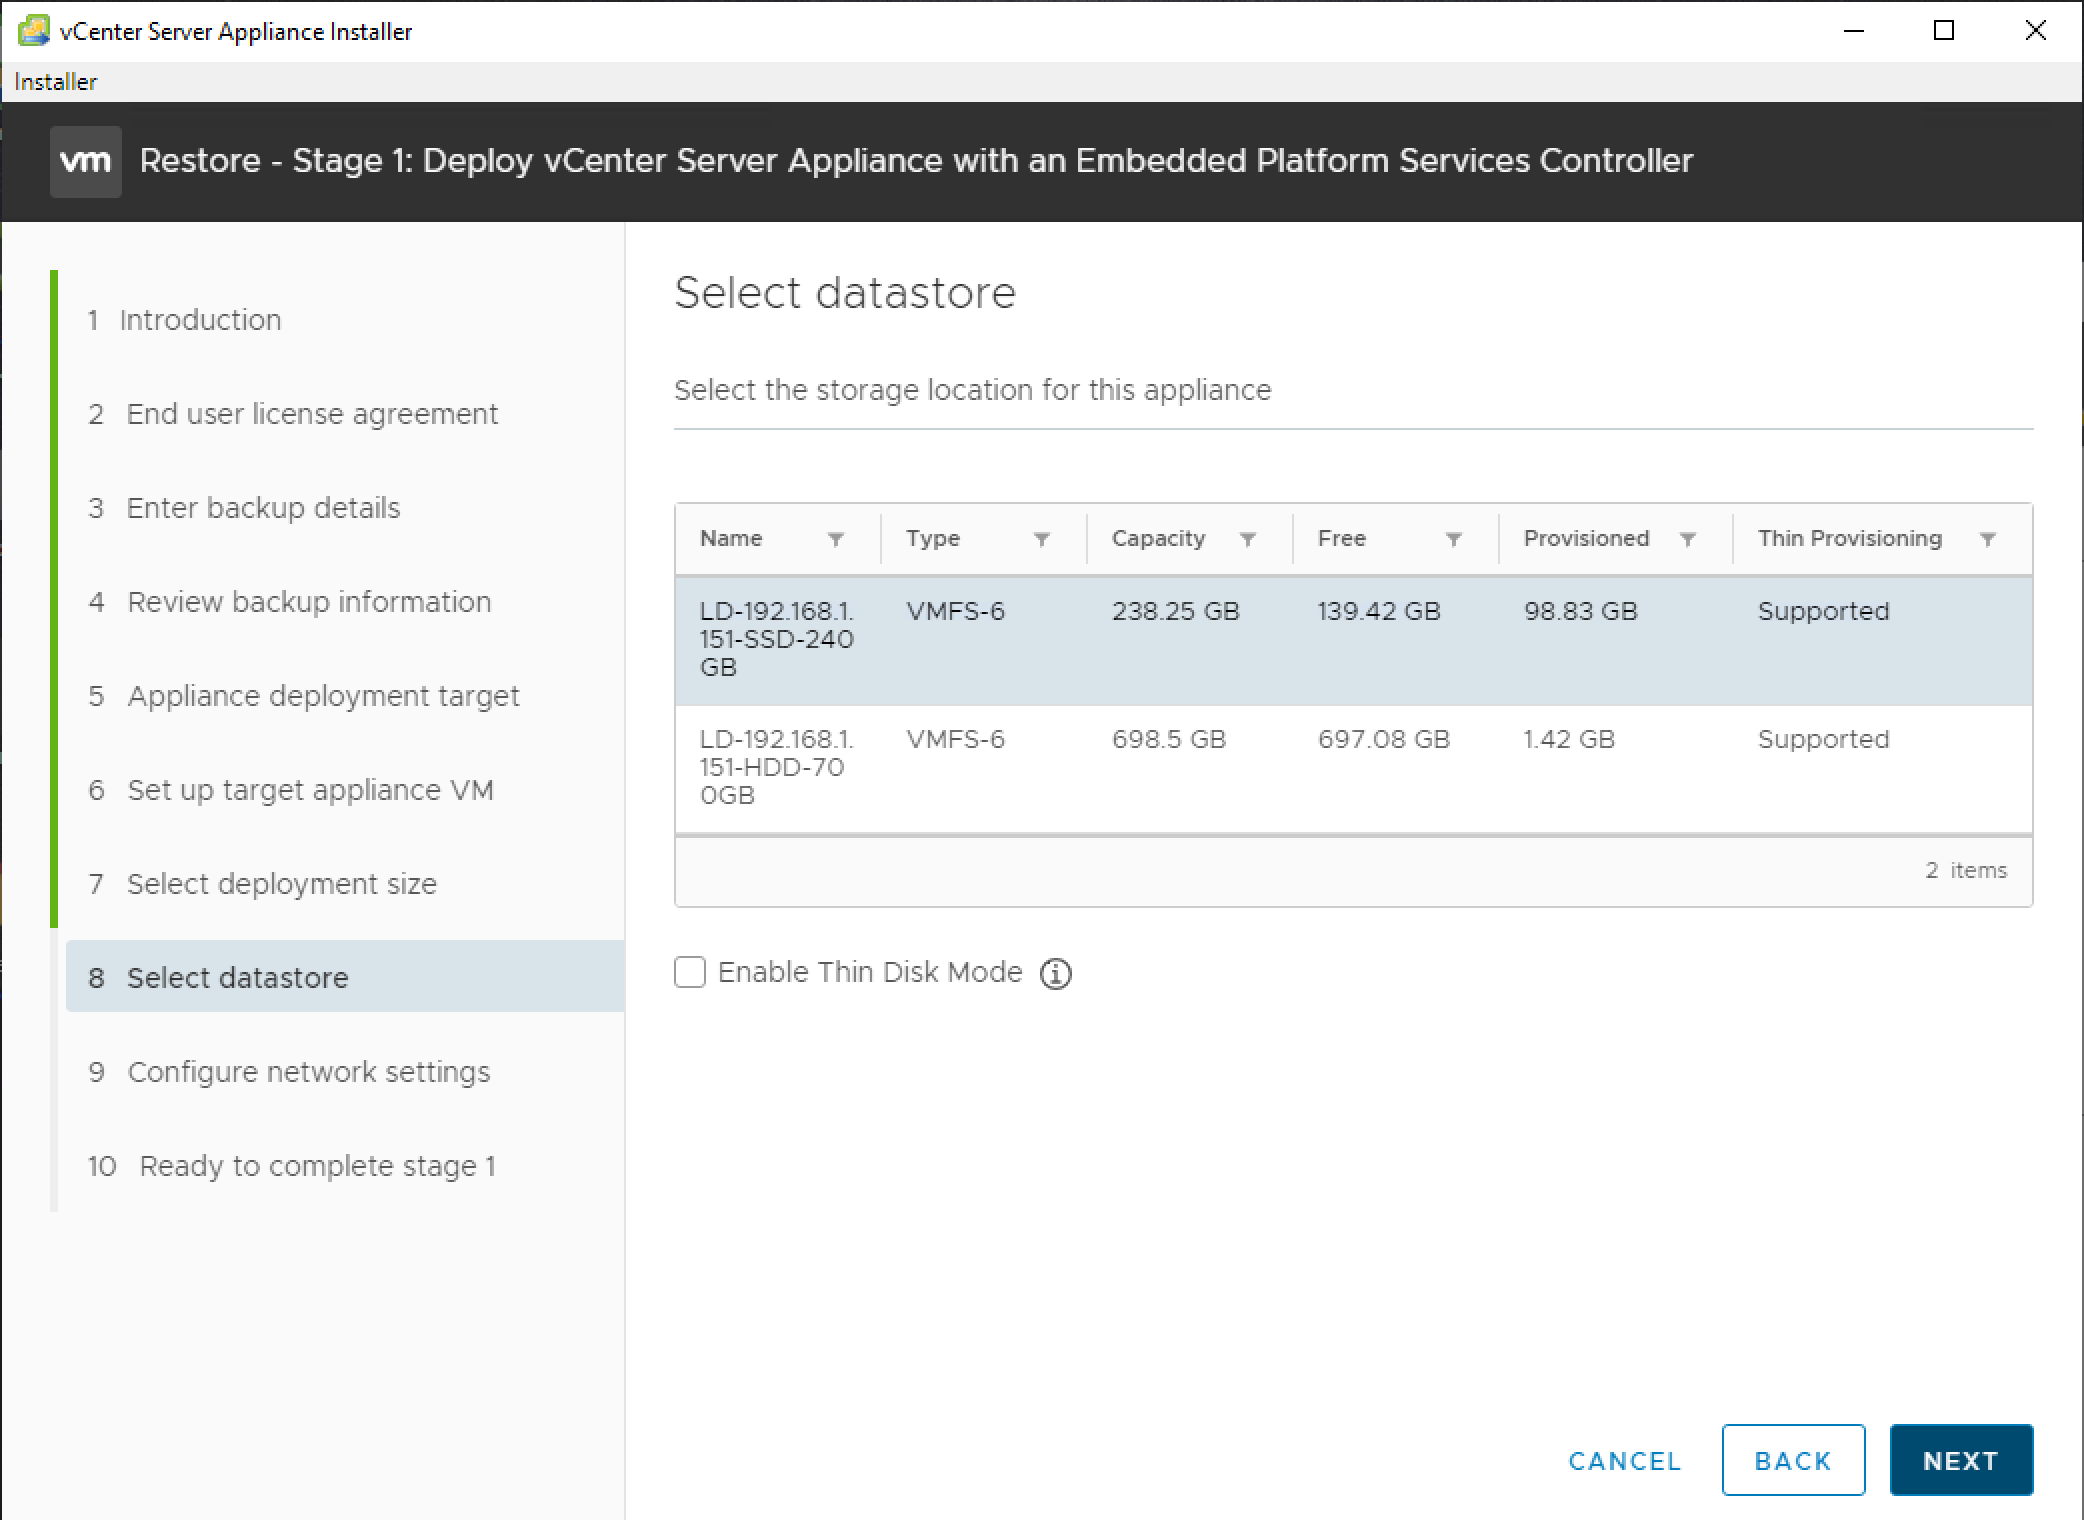
Select storage:
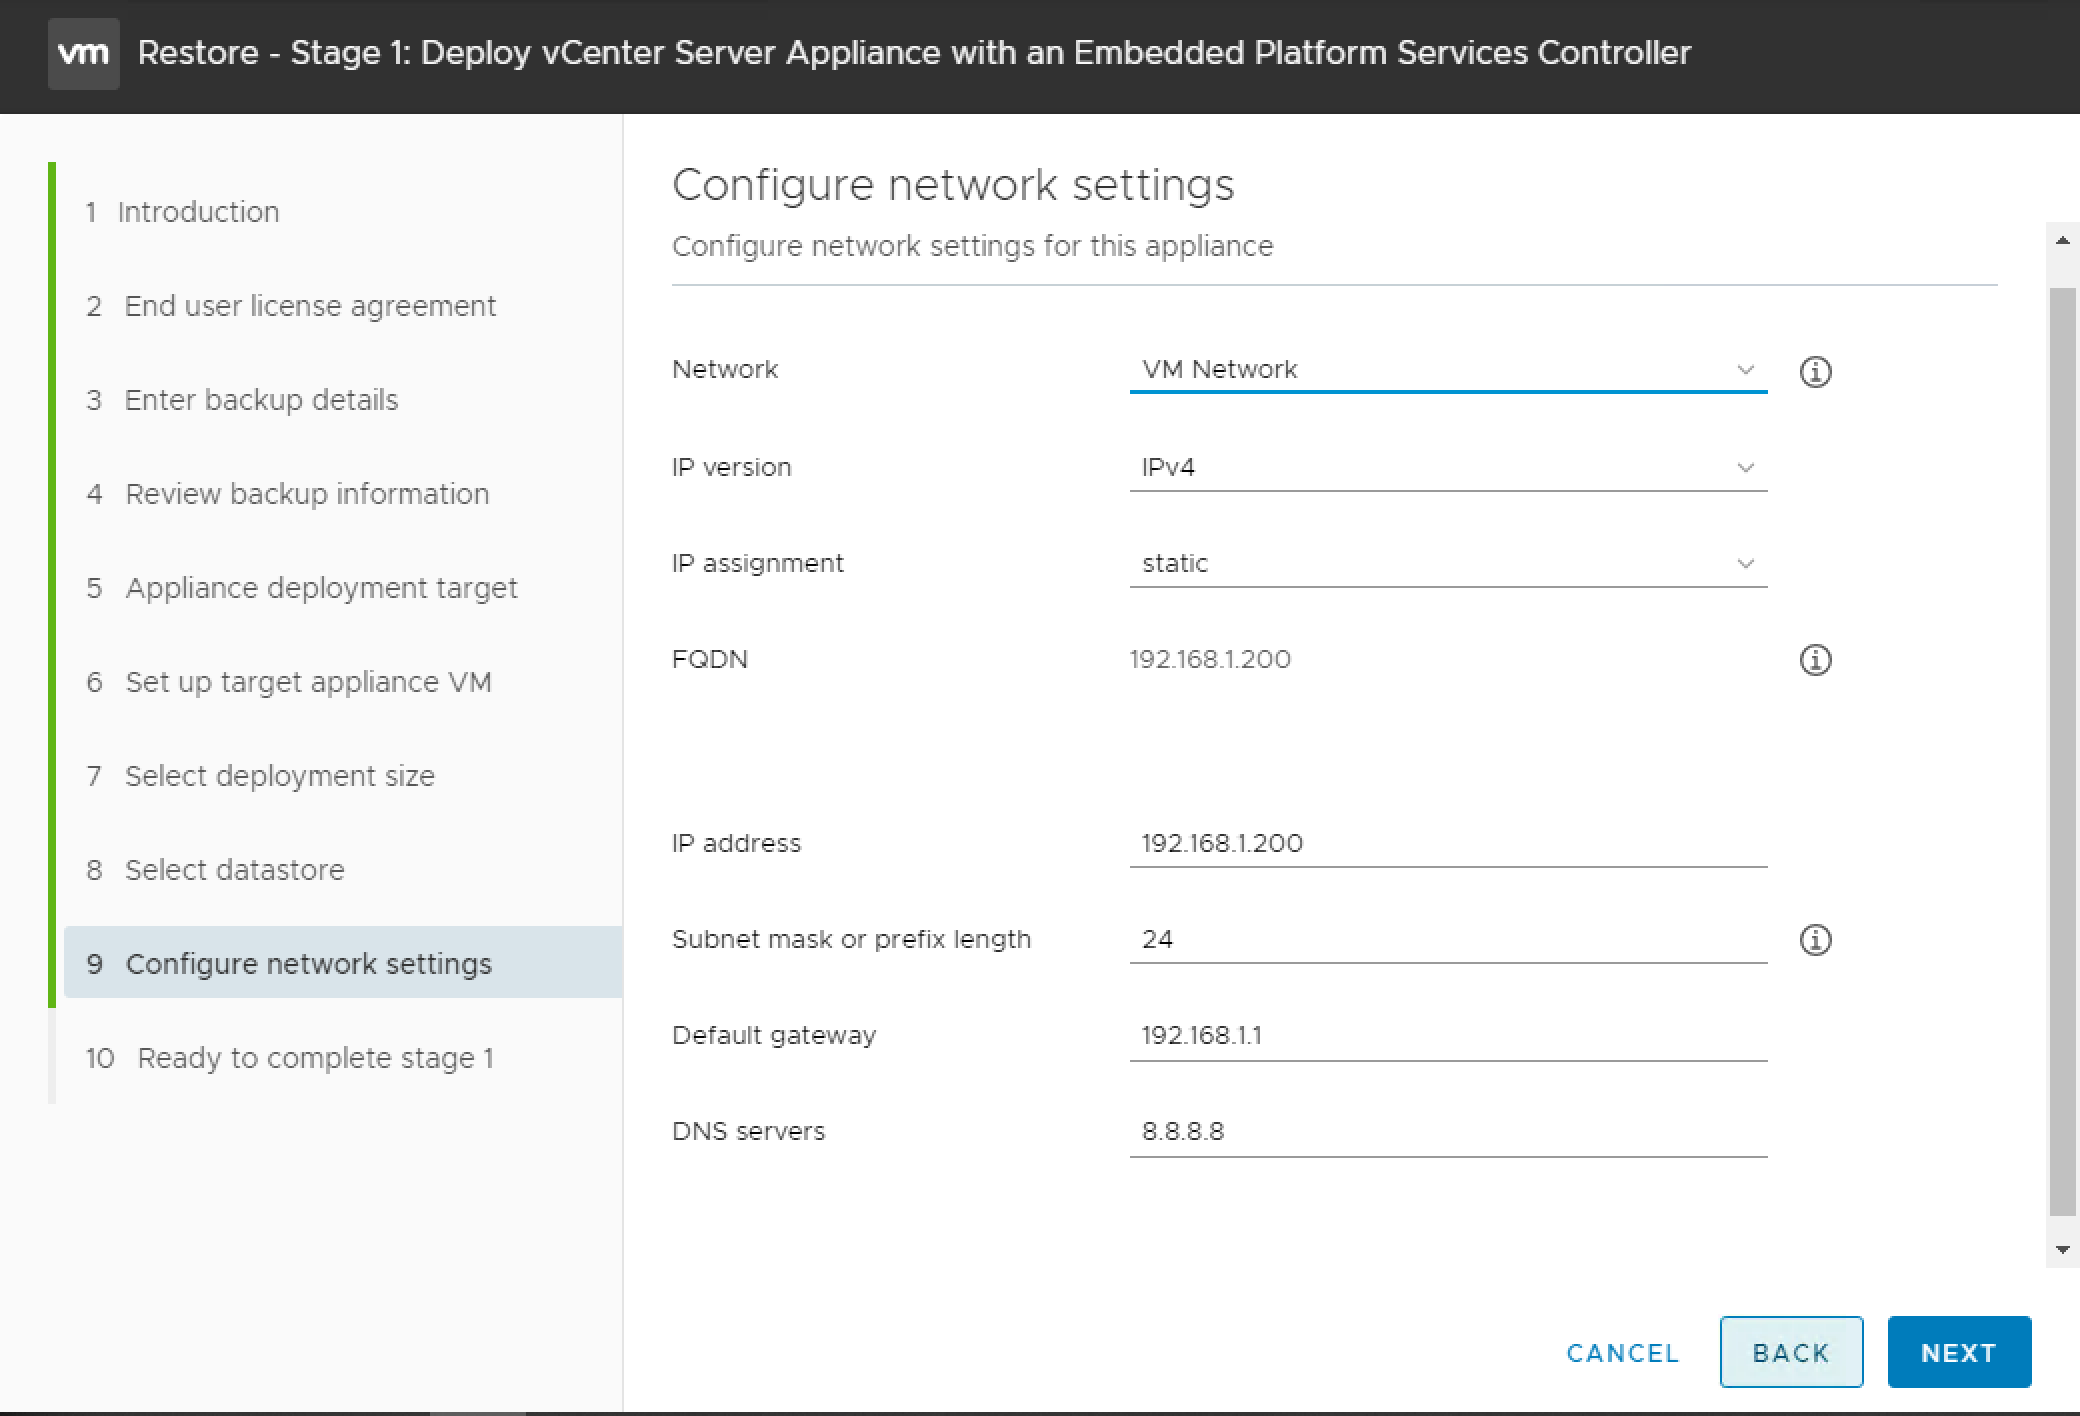
And network configuration:
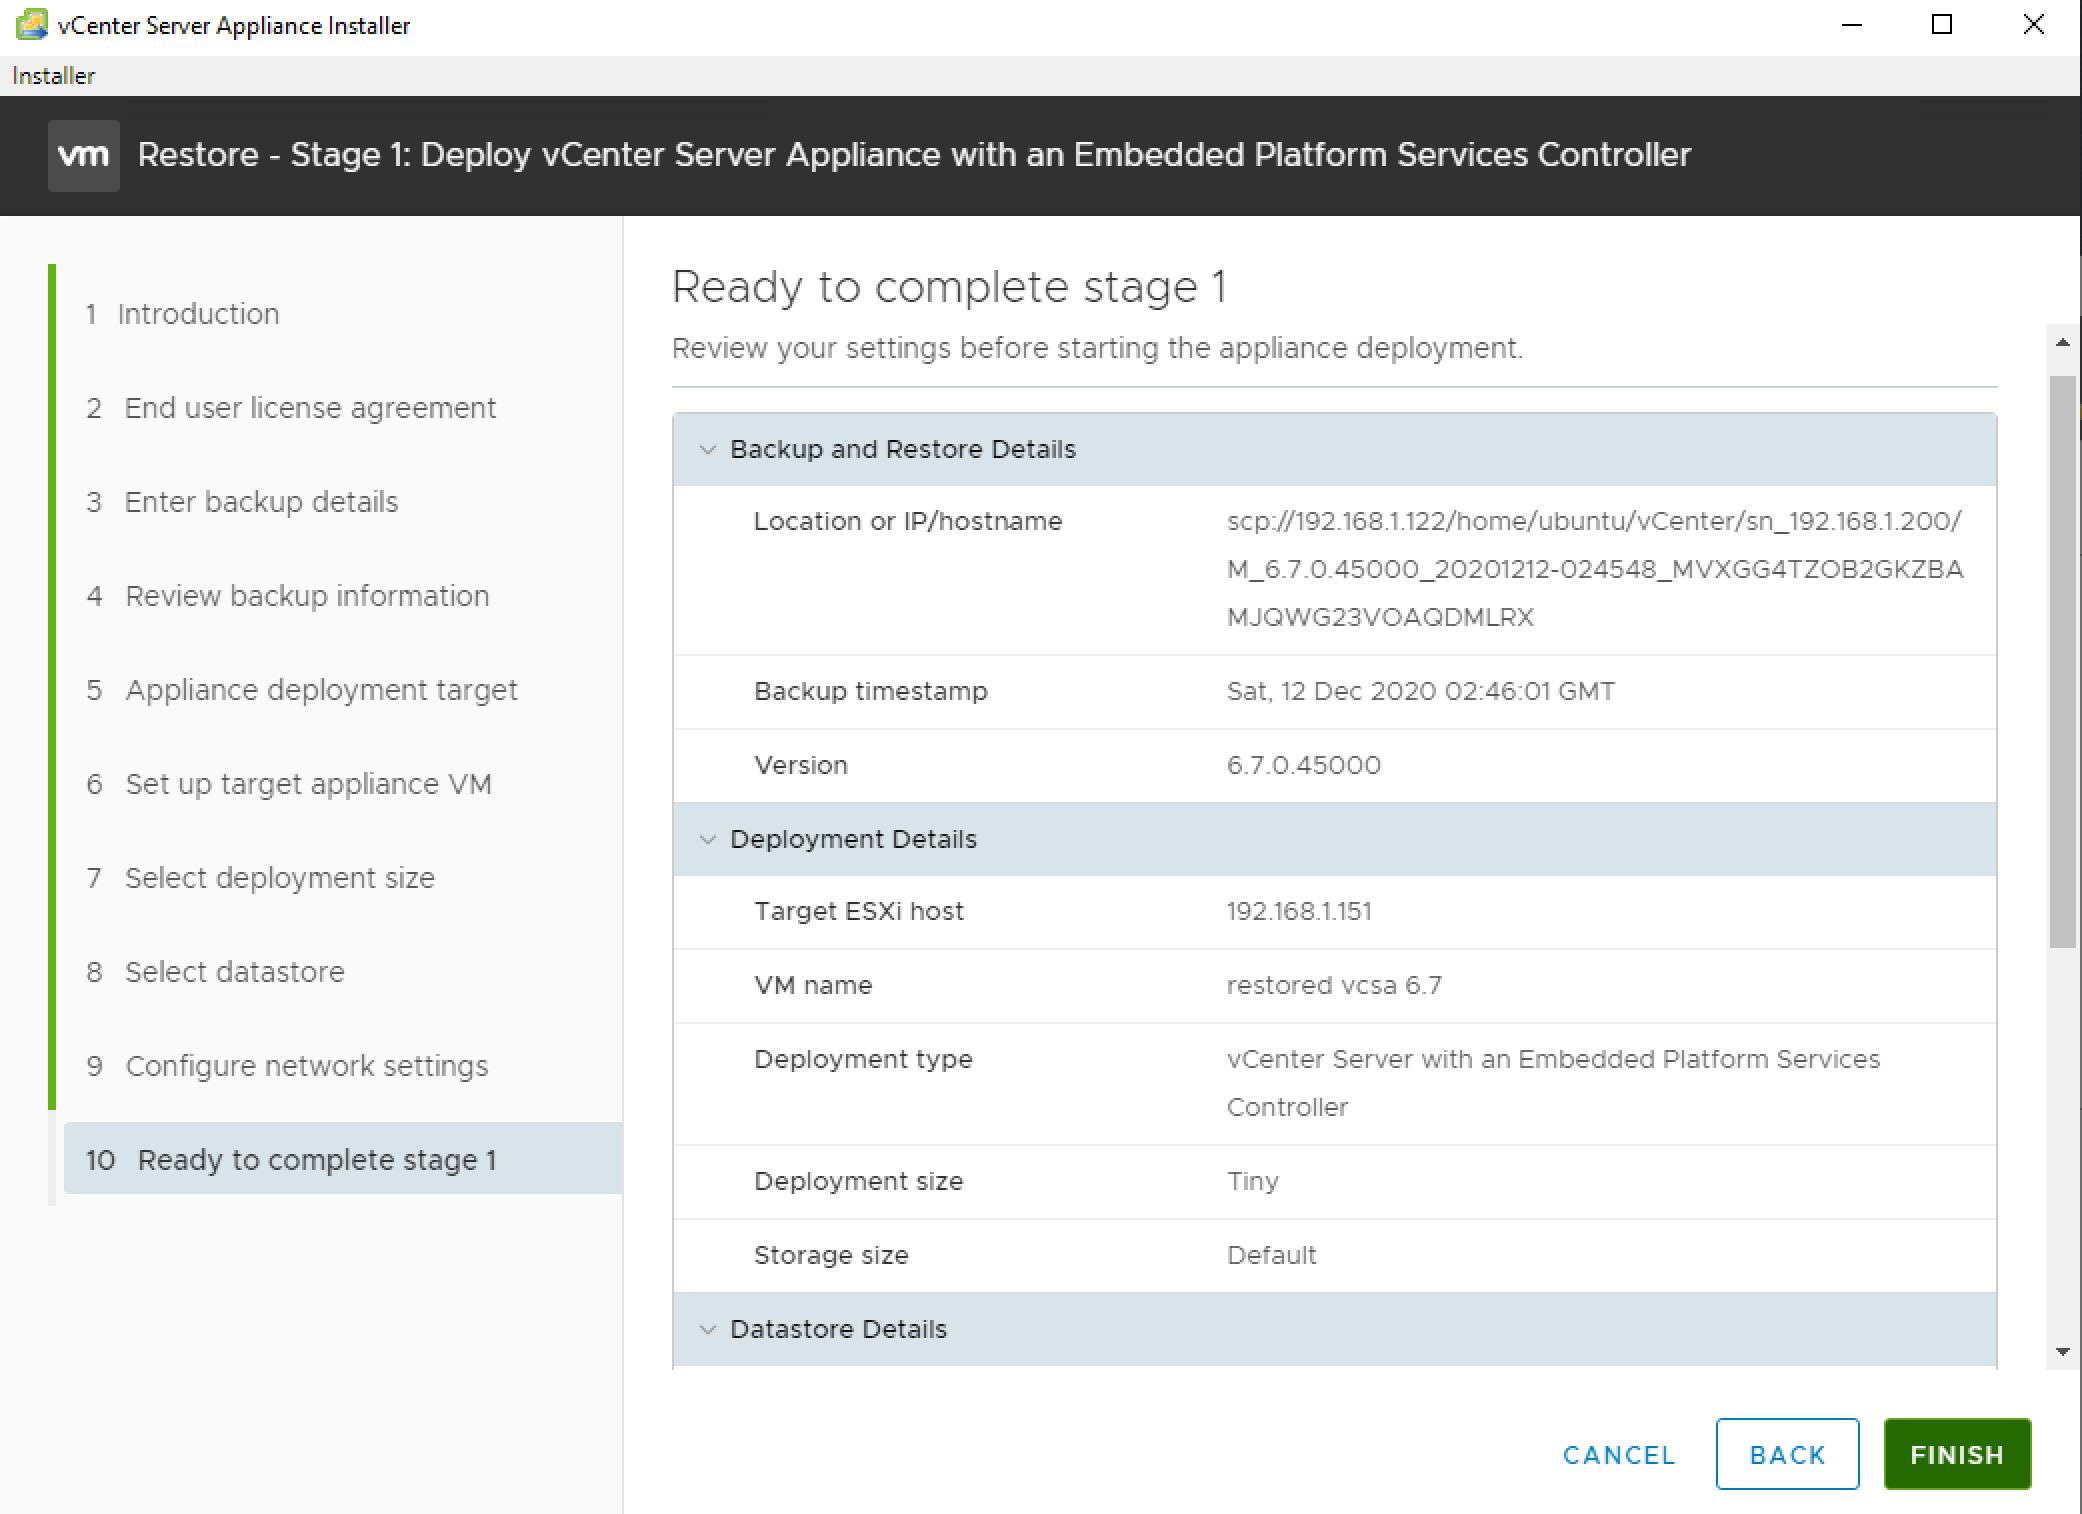
Review the stage 1 summary and click “Finish”:
Stage 1 of the restoration has been completed:
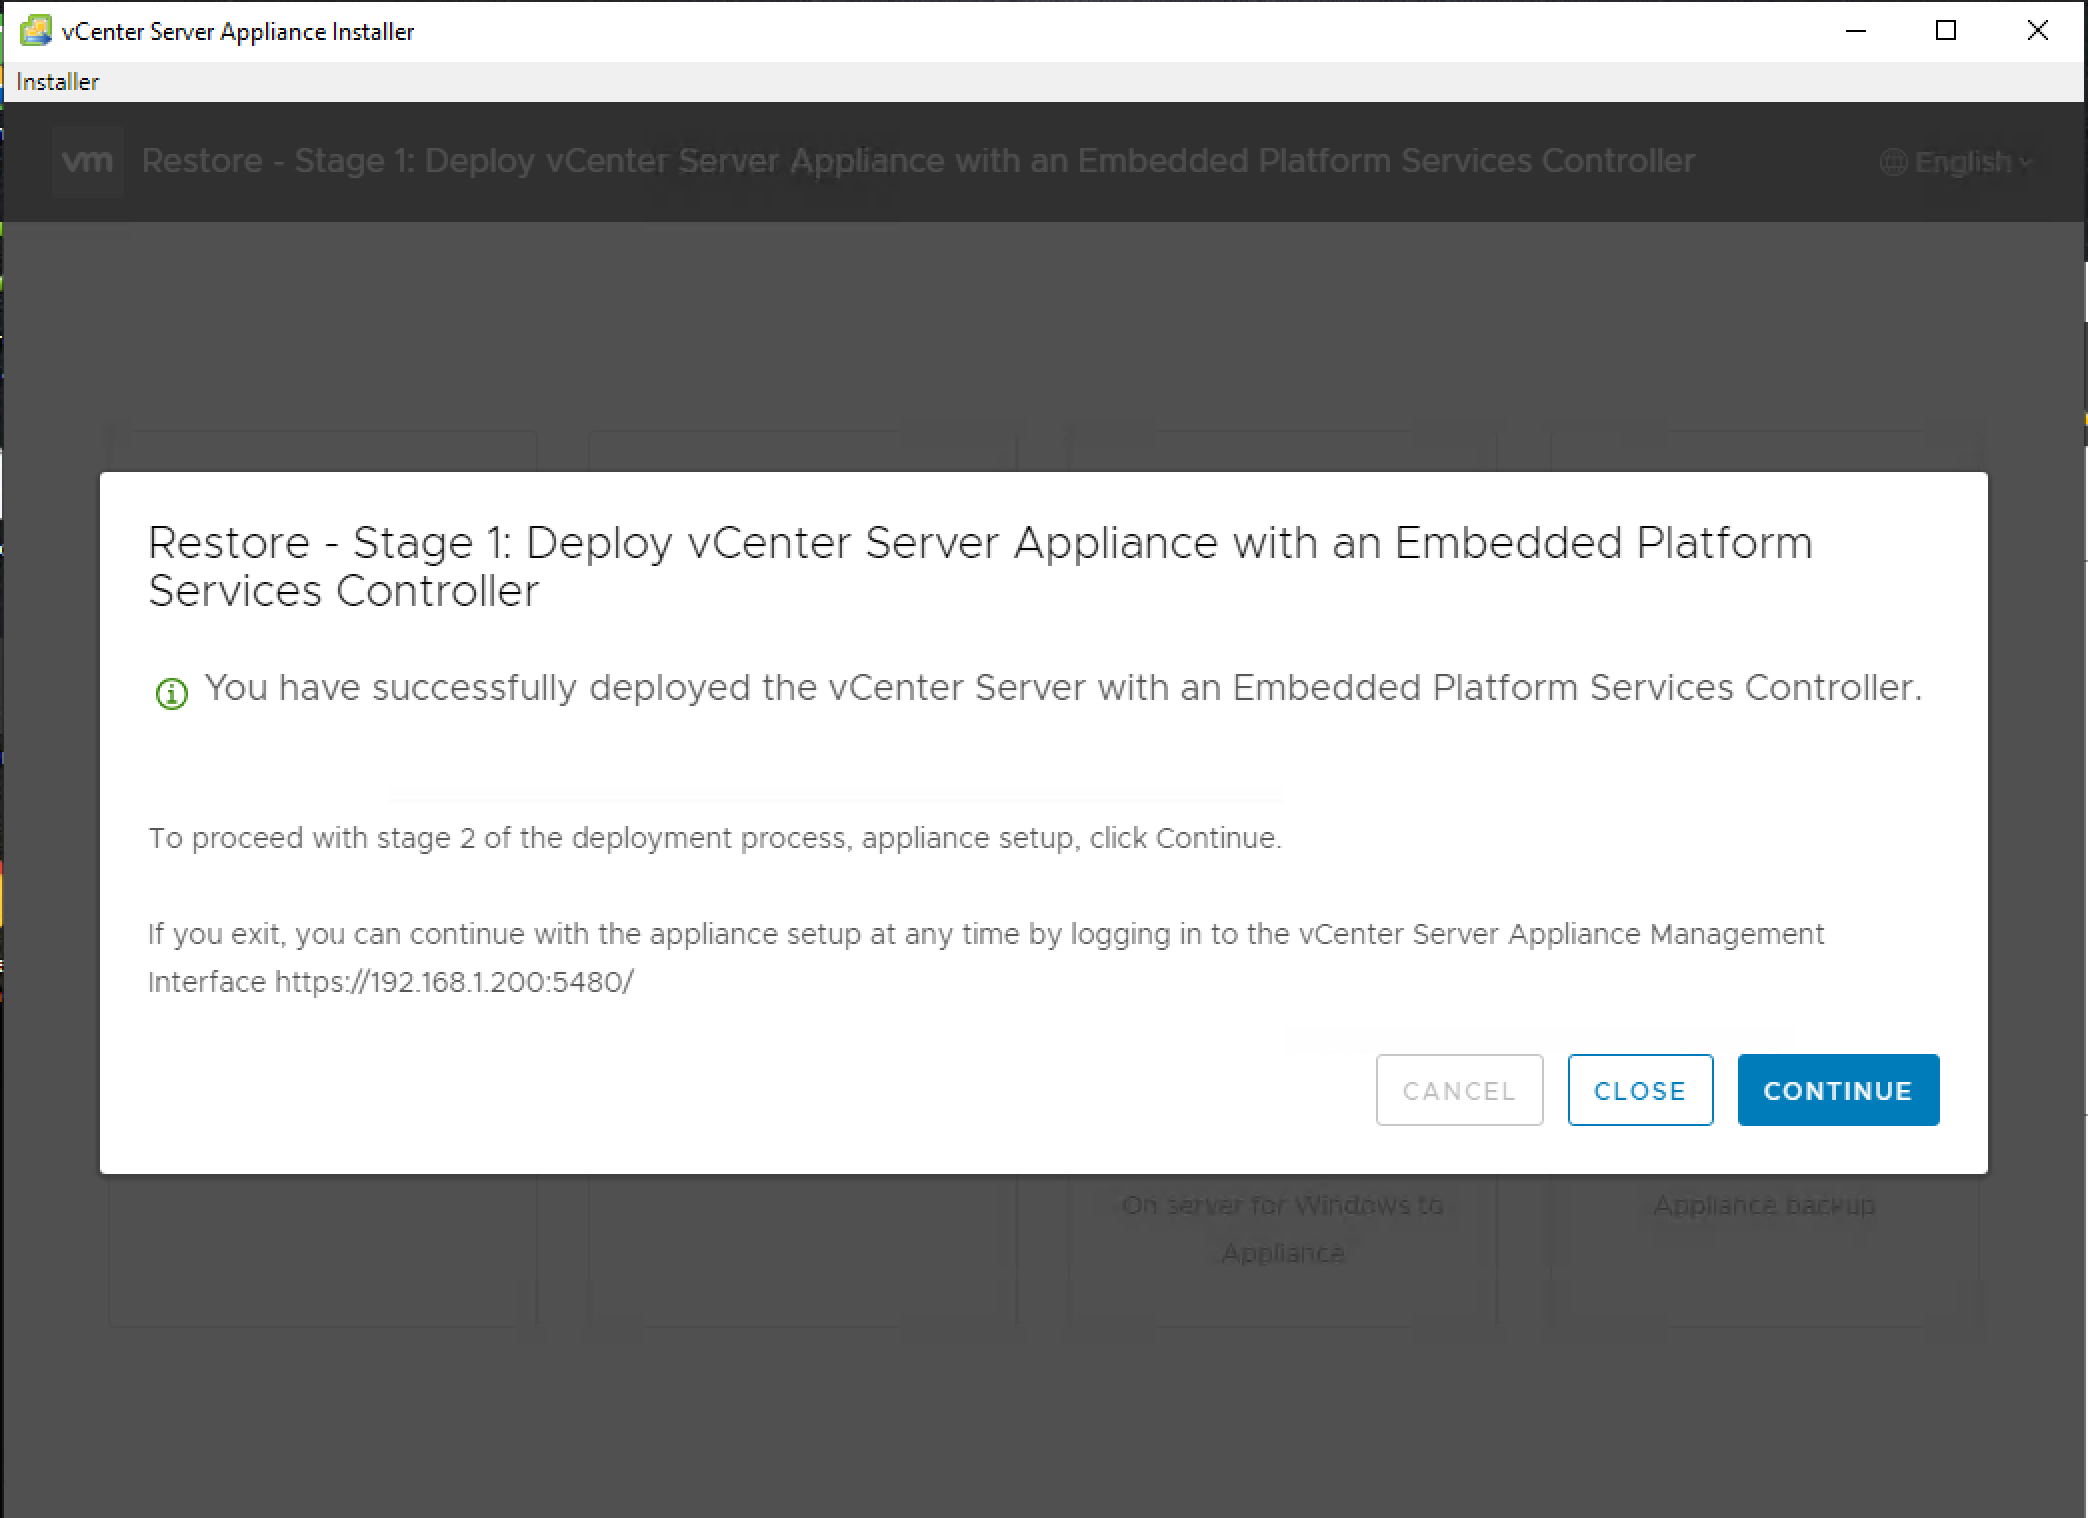
Initiate the stage 2:
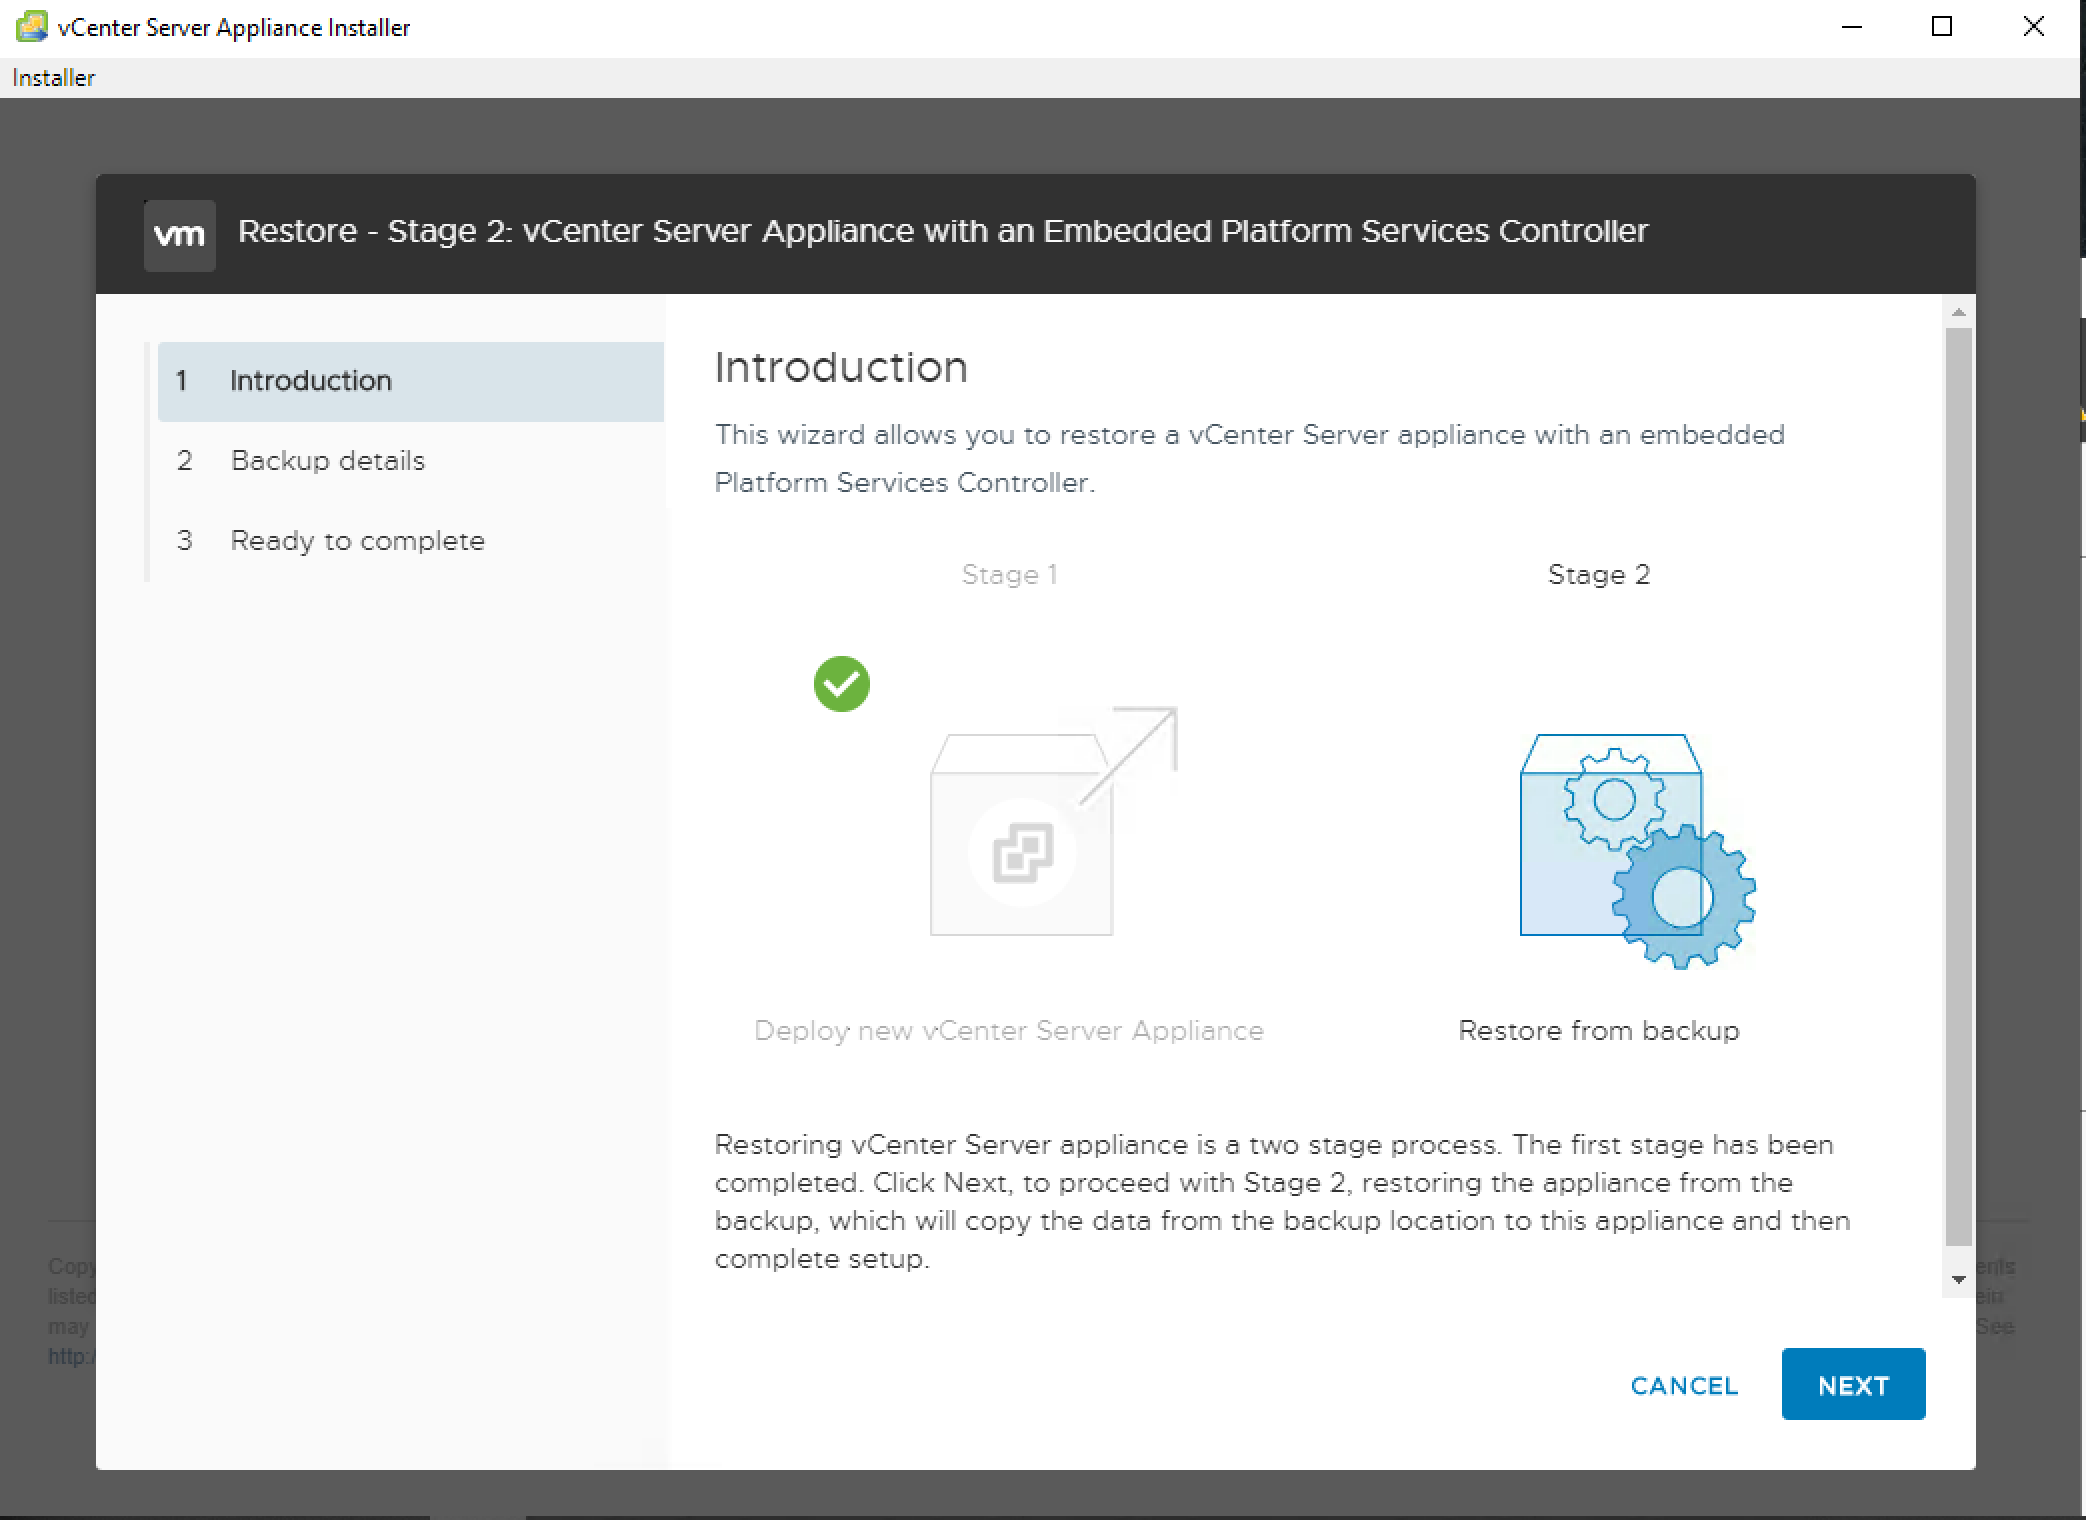
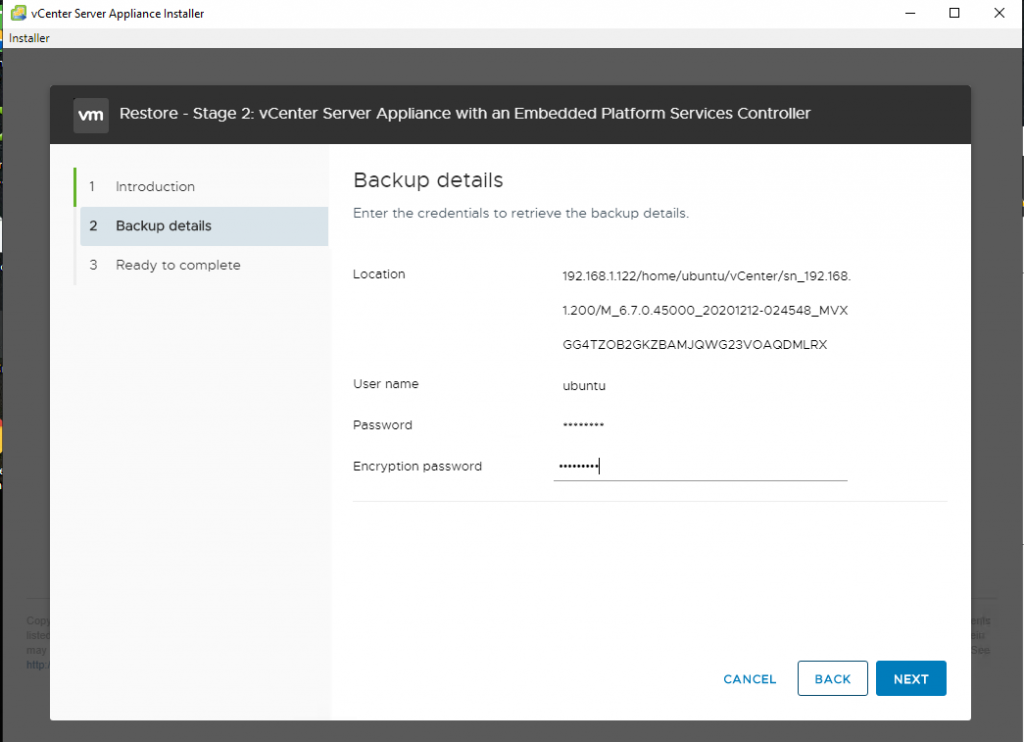
Supply the encryption password:
Complete the second stage:
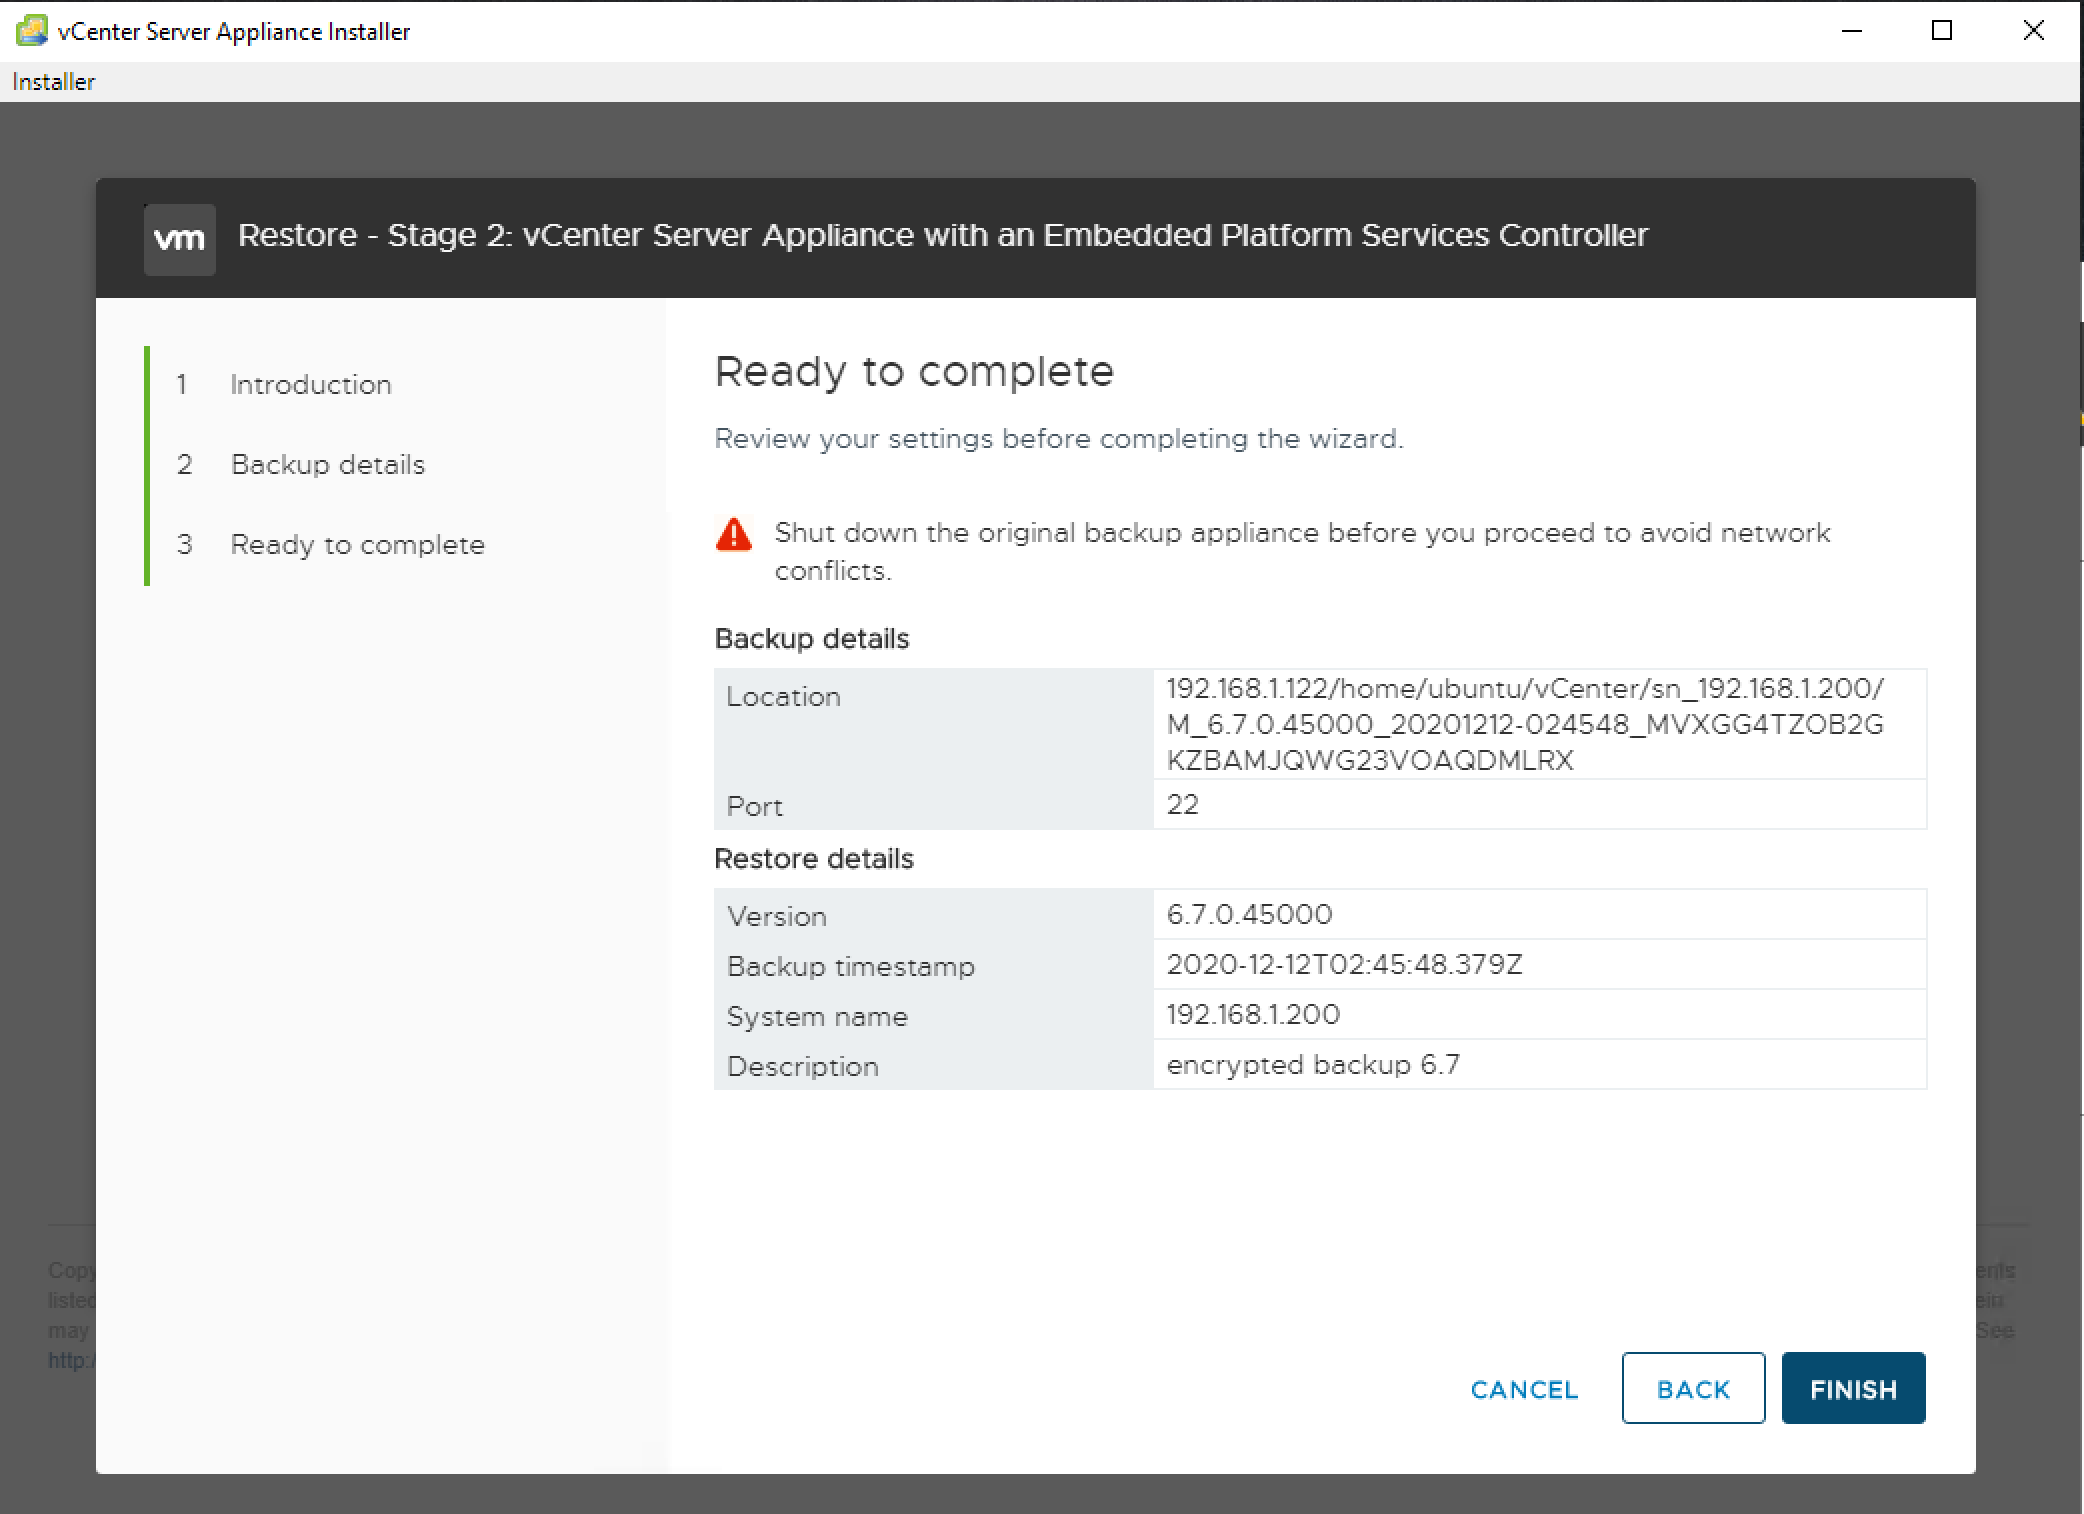
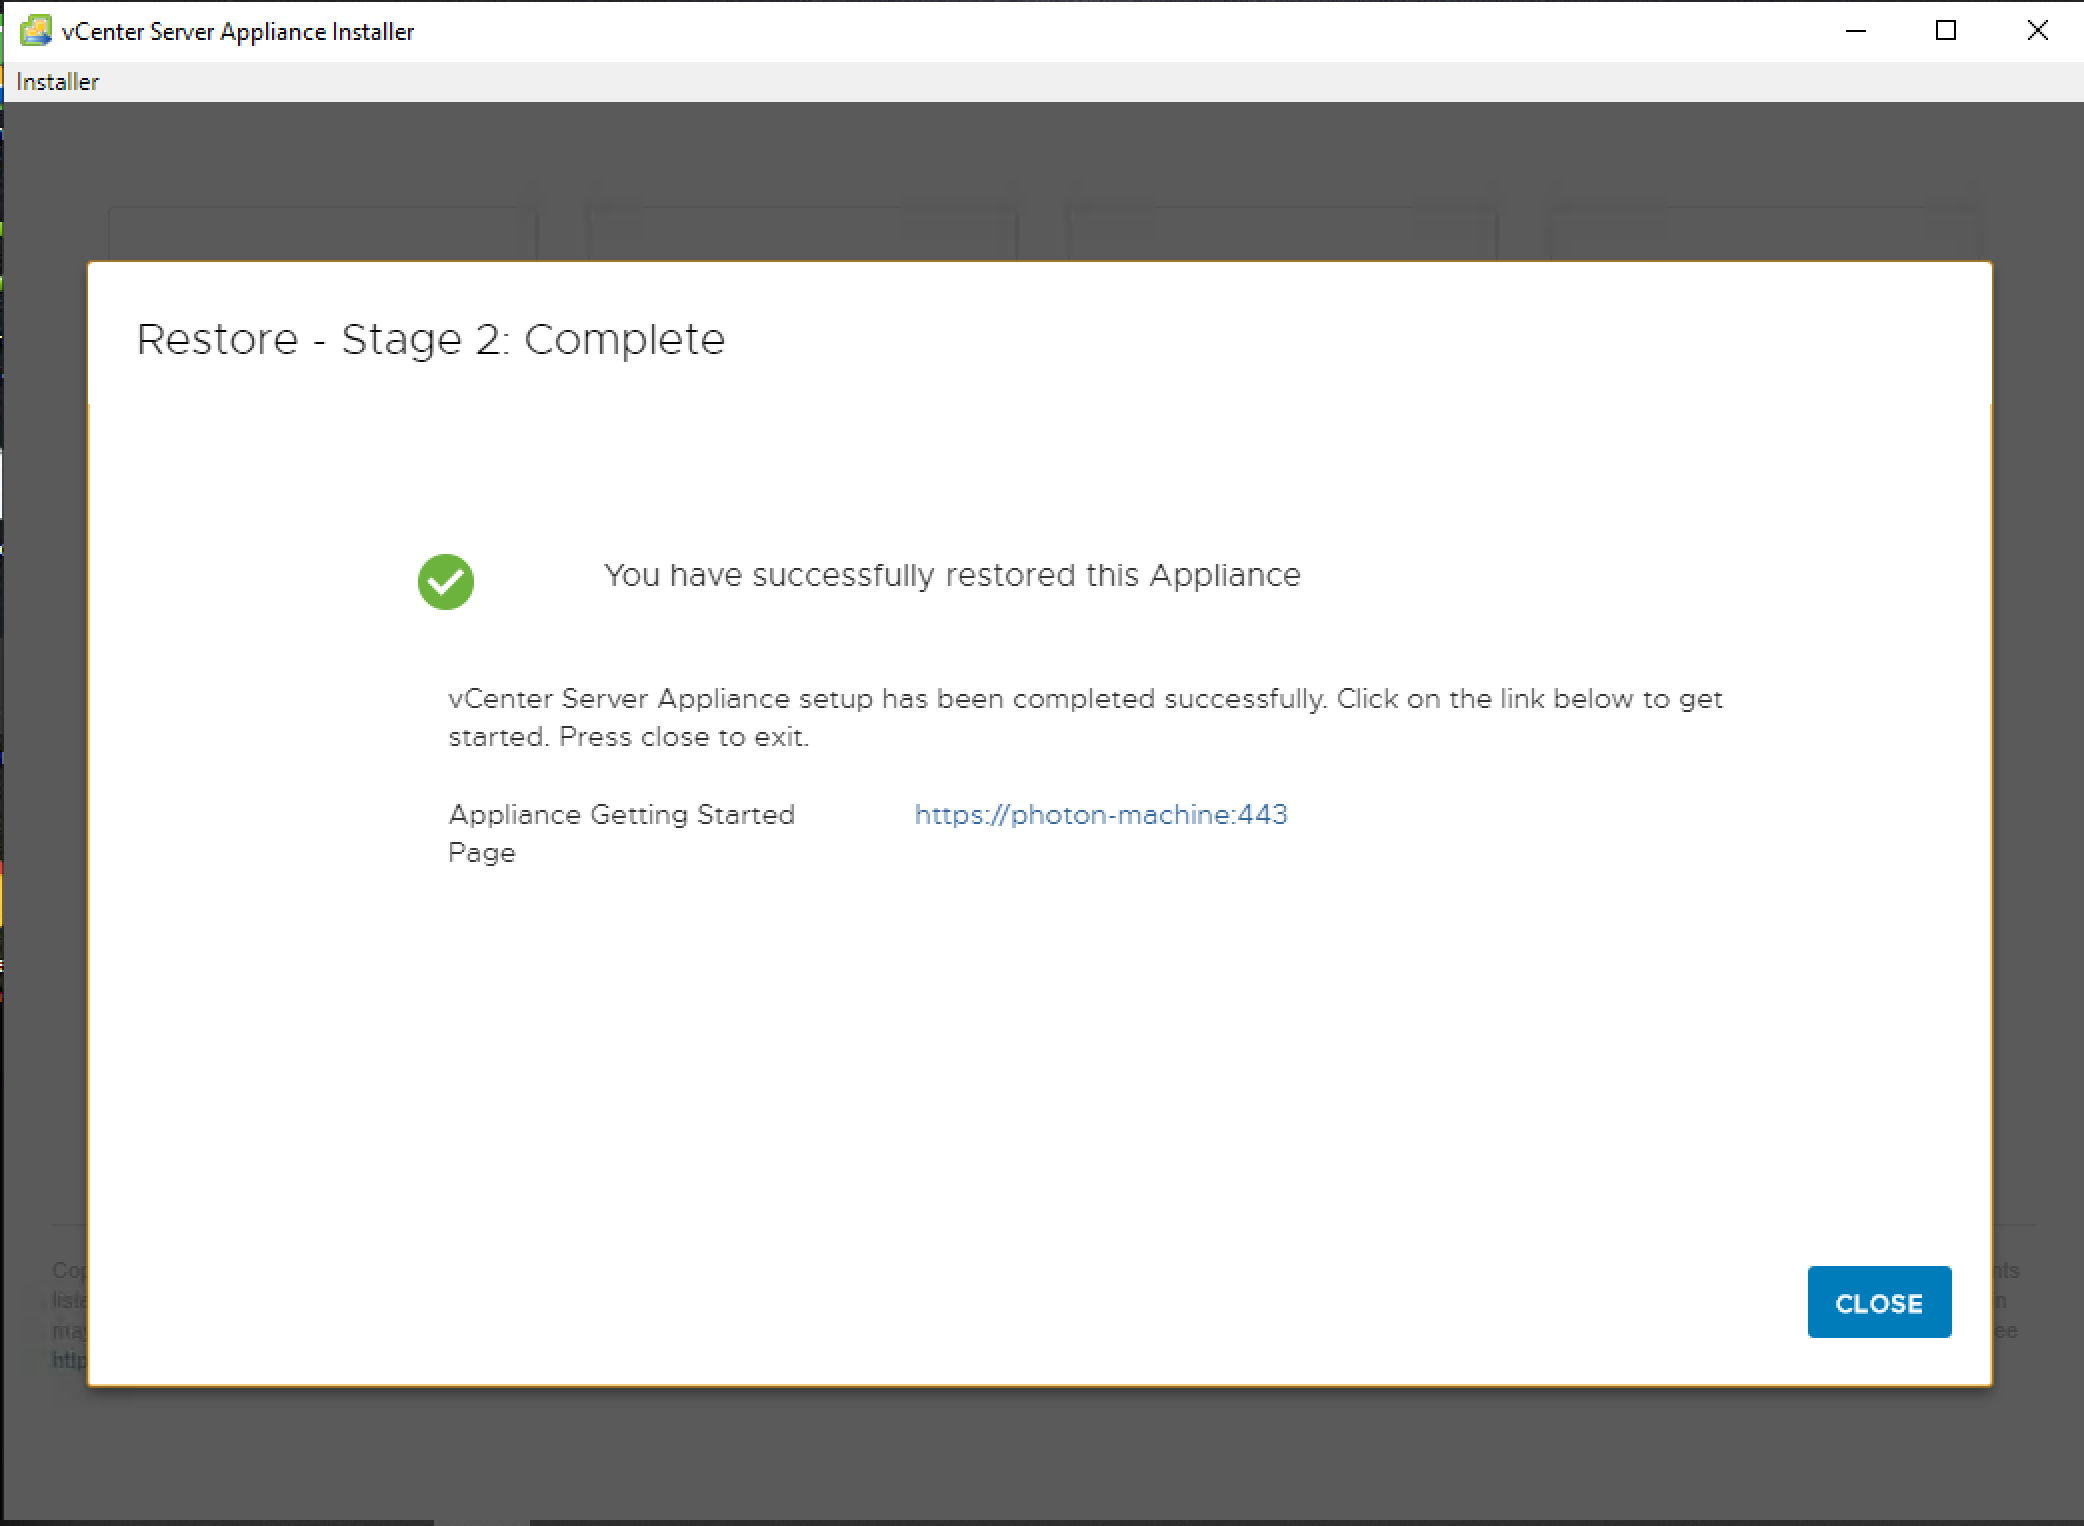
Restoration has been completed: